Hanging Planter Turned Light Fixture

The light hanging over my dining table is horrible.  We live in a rental, and when we moved in the first thing I said to my husband was, “That’s got to go.”  I didn’t get a “before” picture because I didn’t actually know I’d be changing out my light last night.  I only mentioned to my husband that I was thinking of doing it, and a couple hours and a BBQ later, my husband took care of everything.  I guess he enjoys DIY stuff as much as I do.  He’s much much better at it because he’s careful about things.  I’m more… carefree.

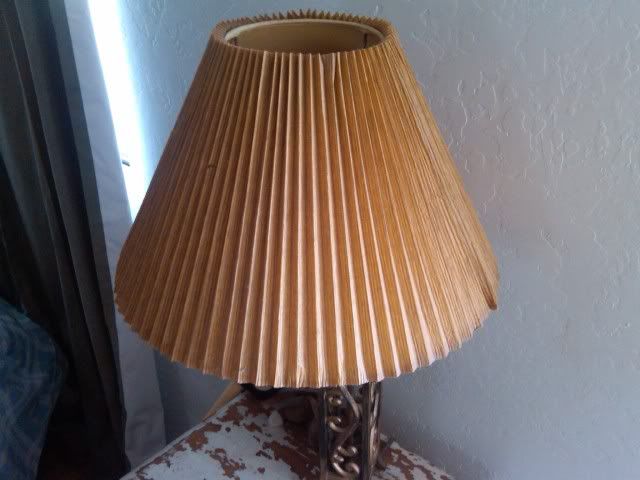
This is the lamp shade that hung over my table:
Photobucket

I had found this picture on the internet, and I decided I wanted to try something like it to replace the old lampshade.


Image and tutorial for this lighting fixture found HERE.

After stumbling on the above picture, I stumbled on this picture:


It’s a DIY chandelier made from a hanging garden planter and beads. I’ve seen them several places on the internet. I had a hanging planter basket in my shed gathering dust (one of the chains was broken on it and I kept promising myself I was going to fix it), but the beaded chandelier just didn’t DO it for me.
Find the tutorial HERE.

I thought to myself ‘Too bad I’m not in love with that beaded chandelier. All I’d have to buy would be the beads. I could totally buy some cheap Mardi Gras beads and spray paint them…’ And while I was thus moping, it hit me.
I could use the hanging wire basket idea with my poor pitiful garden basket!
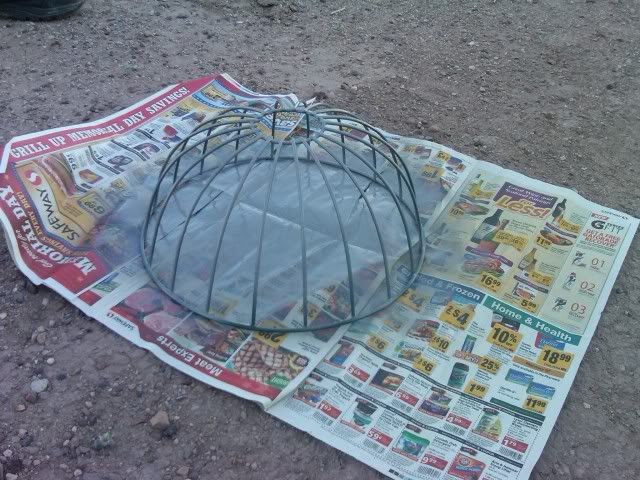
The area was already set up for a hanging light… so I armed myself with spray paint and started tearing stuff apart. This is where my husband stepped in and completely took over. As he spray painted, he asked “Am I stealing your thunder?”
“Nope!” I said. It was nice to have him do it. I’d probably fudge it up and make it look as trashy as it actually is.
Photobucket
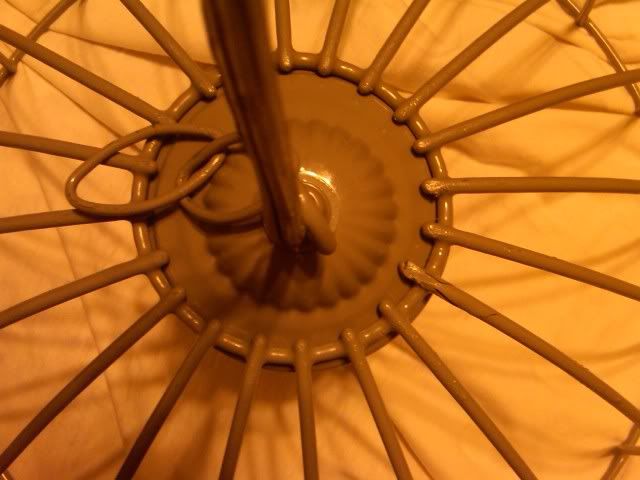
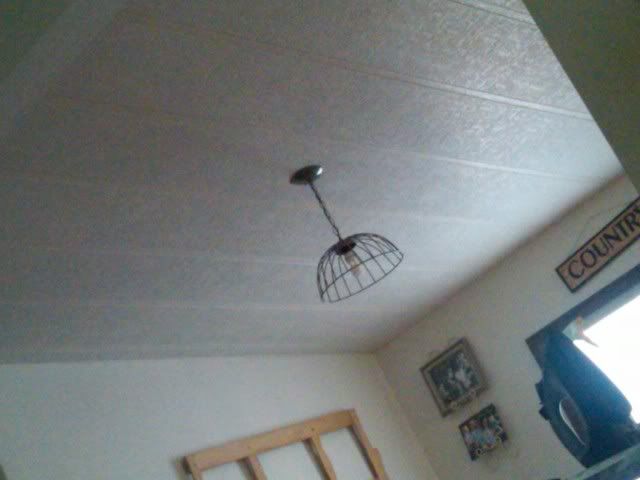
We removed all the chains from the basket and spray painted it grey. We also removed all the hanging pendant light fixture stuff that attached to the ceiling and spray painted it grey to match (it used to be a gold color).
The hanging fixture we already had fit the basket like a glove. Lucky me!
Photobucket
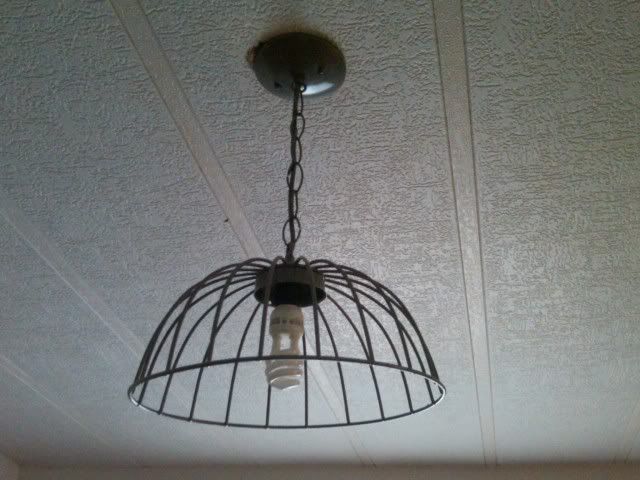
I can’t wait to change the bulb out for a big ball-shaped one.
Photobucket
Here’s a picture taken from my couch this morning. Don’t mind the iron off to the side. I’m doing a lot of sewing these days. Well… I’m MEANING to do a lot of sewing.
Photobucket

Posted in Home Decor | 1 Comment

Garden Marks

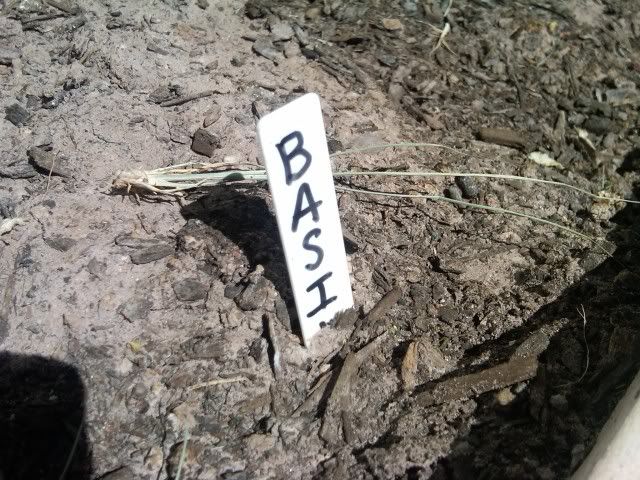
This is my practical non-nonsense garden marker.Photobucket
I accidentally tucked the last letter of “basil” in the dirt. Anyway, that marker was tough and all, but it wasn’t purdy.
Yesterday I spent most of the day with my sister, and we joked about how much women love pretty things.
“We’re like birds,” I said, “We flit around until we see something shiny and we go nuts for it, like… ‘oooh! I need that for my nest!’”
Well, I needed these for my nest…
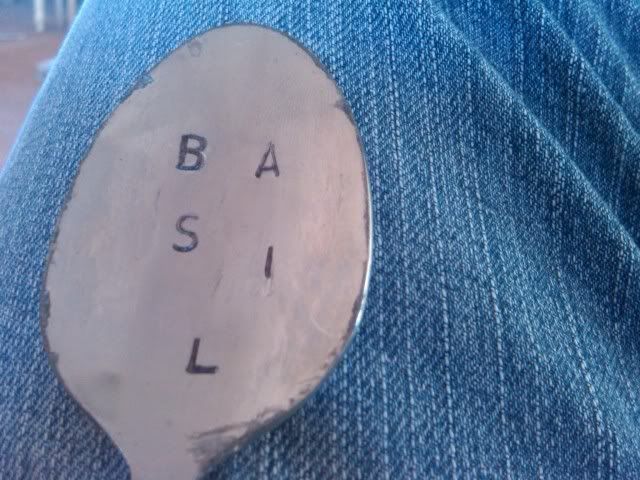
I bought a spoon at Savers for 25 cents, and then I hammered it mostly flat (with the help of my hubbers because when there’s bustin’ up going on, you just can’t keep boys away).
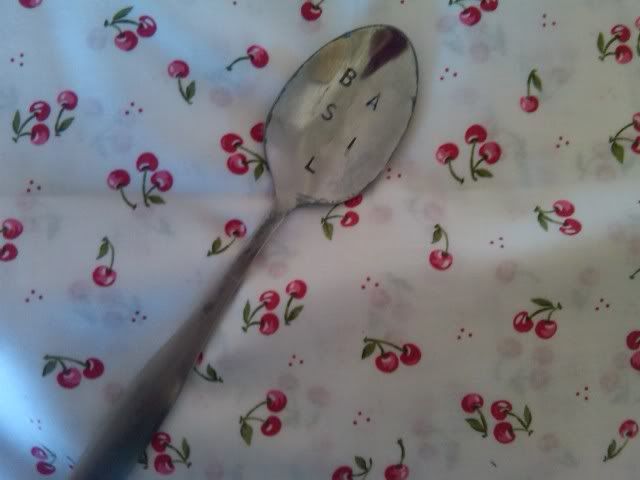
Then I steel stamped letters into it and filled the stamps in with black permanent marker. Personally, I like the letters to look a little… terrible. It gives them a sort of kitschy look.
Photobucket
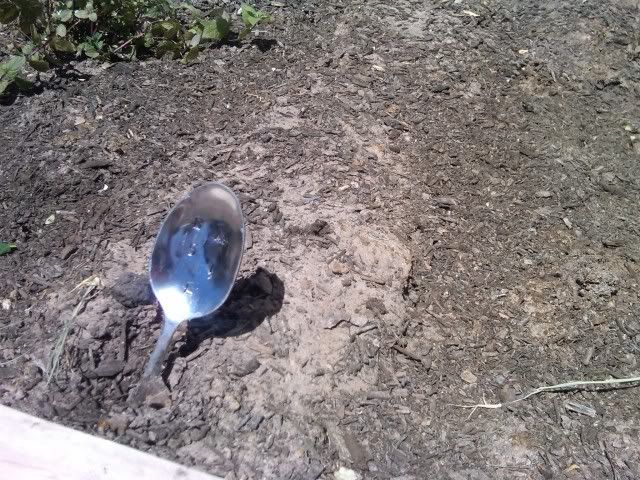
A week from today, I’ll be pounding out spoons with my Beehives, and we’ll be stamping their names into them for them to put into the potted plants we’re going to put together.
Photobucket
I love cherry fabric. And red gingham fabric. And the word “kitschy.”
Photobucket
Spoon stamping really has endless possibilities. I just threw my spoon craft together in about 15 minutes. When I get more time, I’ll do something really amazing.
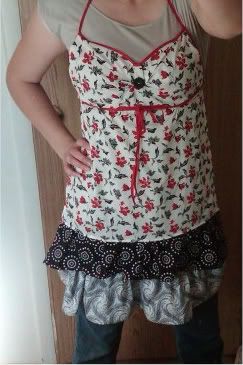
Like THIS.

Posted in Uncategorized | Leave a comment

My First Topiary

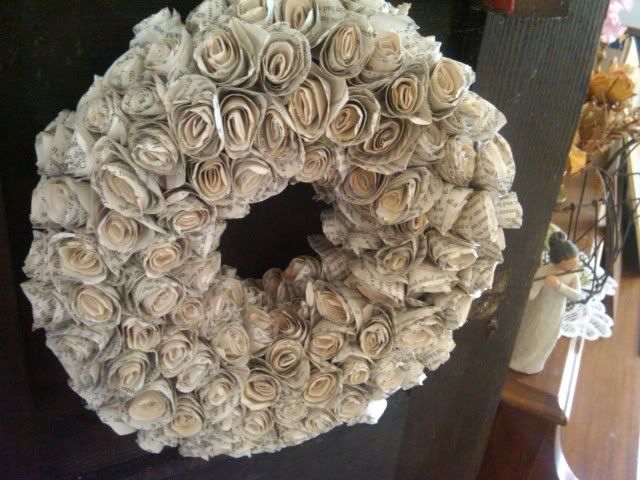
I made a wreath using rosettes made from book pages:Photobucket
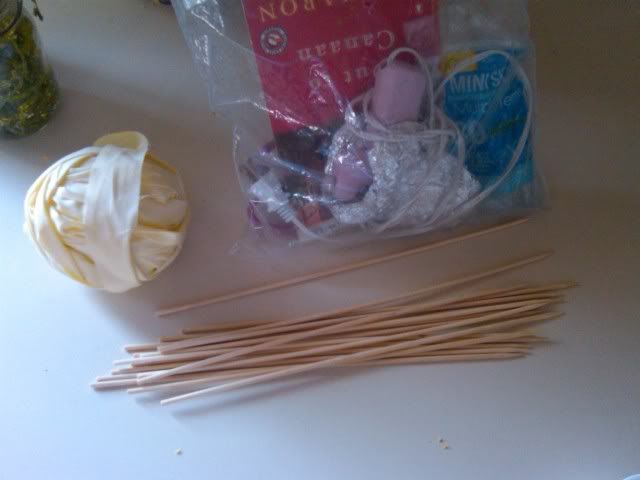
And I liked it so much that I decided to apply the same idea to a topiary. I’ve been wanting to try this for awhile, but I didn’t have the necessary supplies on hand. But then I had a thought and decided to give it a try. I’ve had an old vase metal vase around for awhile. I’ve had kitchen skewers in my cupboards for months. I have fabric strips rolled into balls that I’m never going to use for anything…
Photobucket
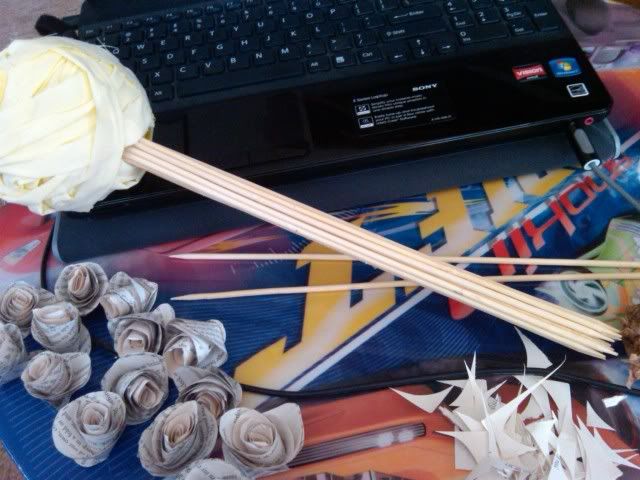
So I parked myself in front of Netflix on my lap top. I set my lap top on my kids’ Lightening McQueen table, and I glued the kitchen skewers together. Then I glued them to the fabric ball.
Photobucket
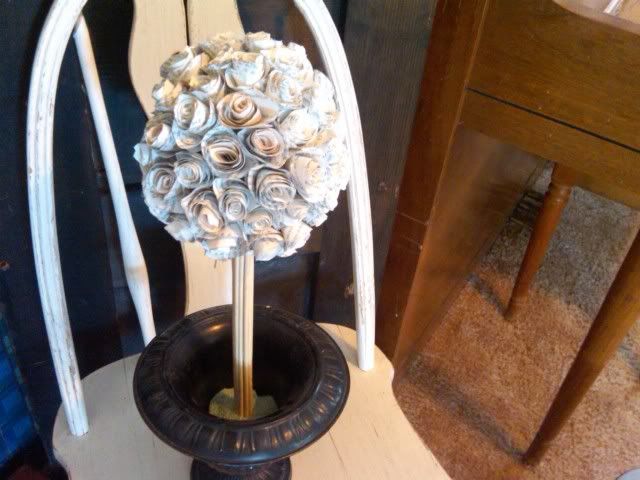
I’m out of glue sticks so I couldn’t properly finish the project. It still needs rosettes on the backside of the fabric ball and some rosettes to go at the base of the skewers.
Photobucket
I actually think the skewers and the vase need some paint, but that will come later on when I’ve decided on JUST the right shades.
Photobucket
Also, I was just thinking… I wonder what a picture frame would look like covered in those paper rosettes? I think I’ve taken the rosette idea as far as sanity will permit, but someone else should definitely try it! I wouldn’t put a picture in the frame. Or glass, actually. I would just hang it on the wall.

Find a tutorial on how to make paper rosettes HERE

Posted in Paper Crafts | Leave a comment

Cook Book Makeover

Okay, this craft is really pretty lame.  I’m sorry.  And I’m also not.  Because I giggled the entire time I made it and thought of the scene in My Big Fat Greek Wedding where Toula pulls out the wedding planning binder her cousin decorated using her old prom (?) dress. Tomorrow for mutual, my Beehives are going to decorate binders with fabric and keep them on hand to stash recipes in as they collect them. To practice, I made over my recipe binder.
Photobucket
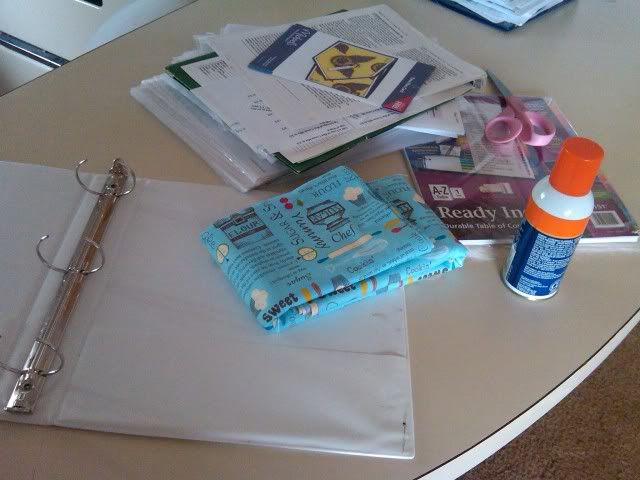
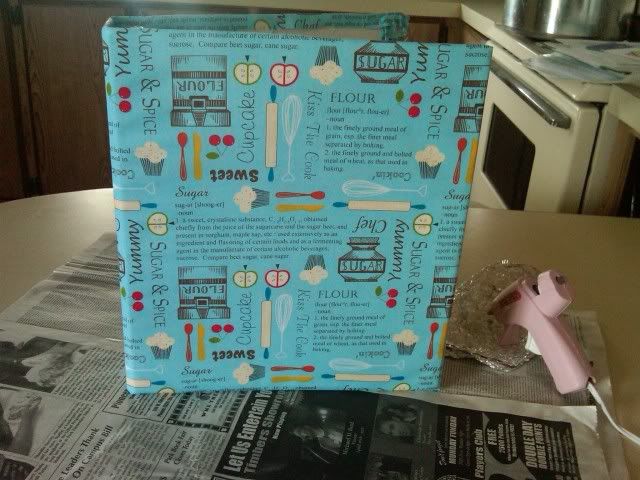
I used my well-used binder, elmer’s spray adhesive, fabric, and alphabetized tabs. Don’t mind the disorganized heap of recipes hanging out in the background.
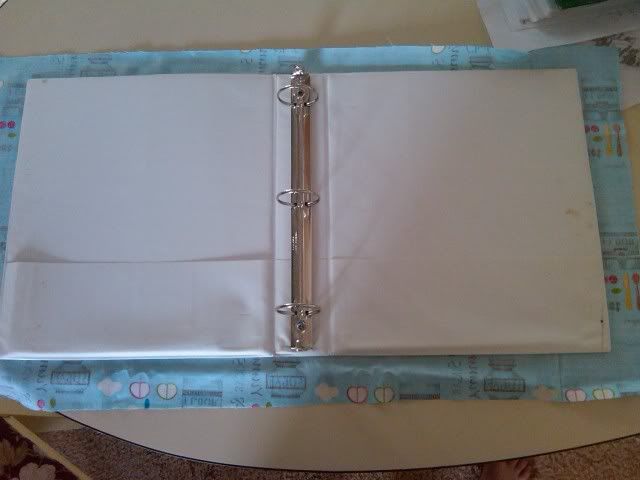
I cut the fabric to size.
Photobucket
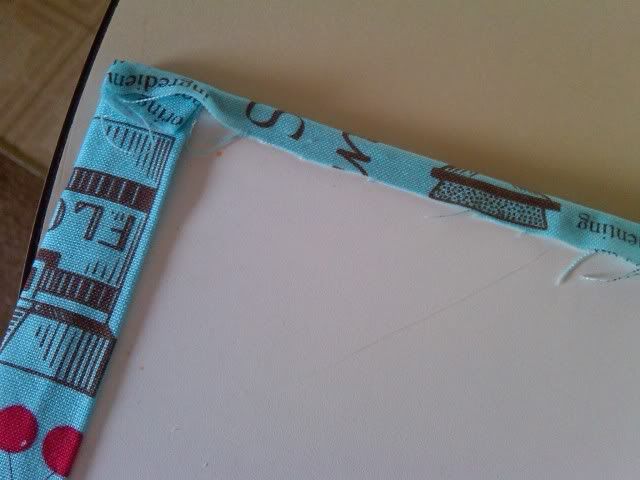
Spread newspaper over my work area, and then sprayed the front of my binder down with the spray adhesive. I pressed the fabric down and smoothed out air bubbles, and then I folded the edges under.
I left one edge raw (because I’m LAZY!) and folded the others under twice to make a closed edge.
Photobucket
I hot glued the edges down all around.
Photobucket
Wee!
About this time, my husband came home from work and caught me staring at my binder.
“What now?” I asked myself, wondering what embellishments I could add to my fresh canvas of a new cookbook.
“I think it’s cute enough,” my husband said.
Silly men.
Photobucket
Crafts are for girls.
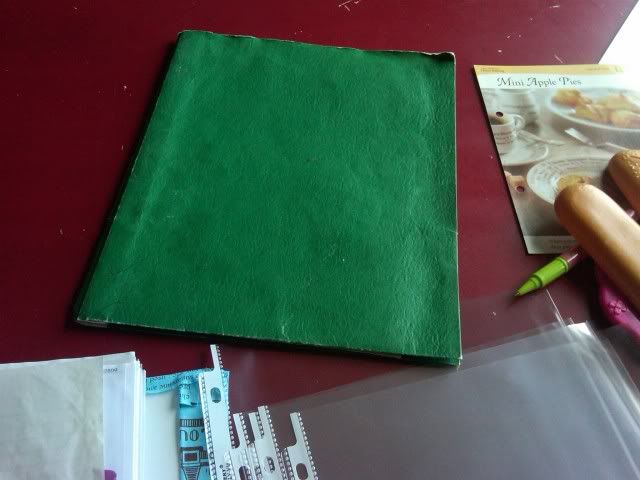
I alphabetized my recipes (whew!) and even went so far as to toss out the old folder I got as a Mia Maid full of recipes from my Young Women group at the time. Don’t worry -I filed the recipes before tossing the folder.
Photobucket
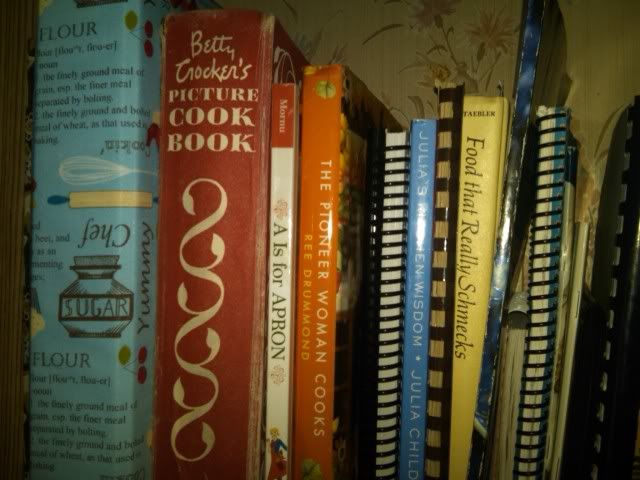
I then straightened up my cookbook cupboard and replaced my cookbook. She looked so good. I could almost hear the other cookbooks gushing over her.
“Did you do something to your hair?”
Photobucket
If you’re really looking for an adventure, you should try
THIS

I’ve been dying to try it since I saw it. Someday I will, but for now I’m going to have to stick with the 20-minute cookbook makeover.

Posted in No-Sew Fabric Crafts | 1 Comment

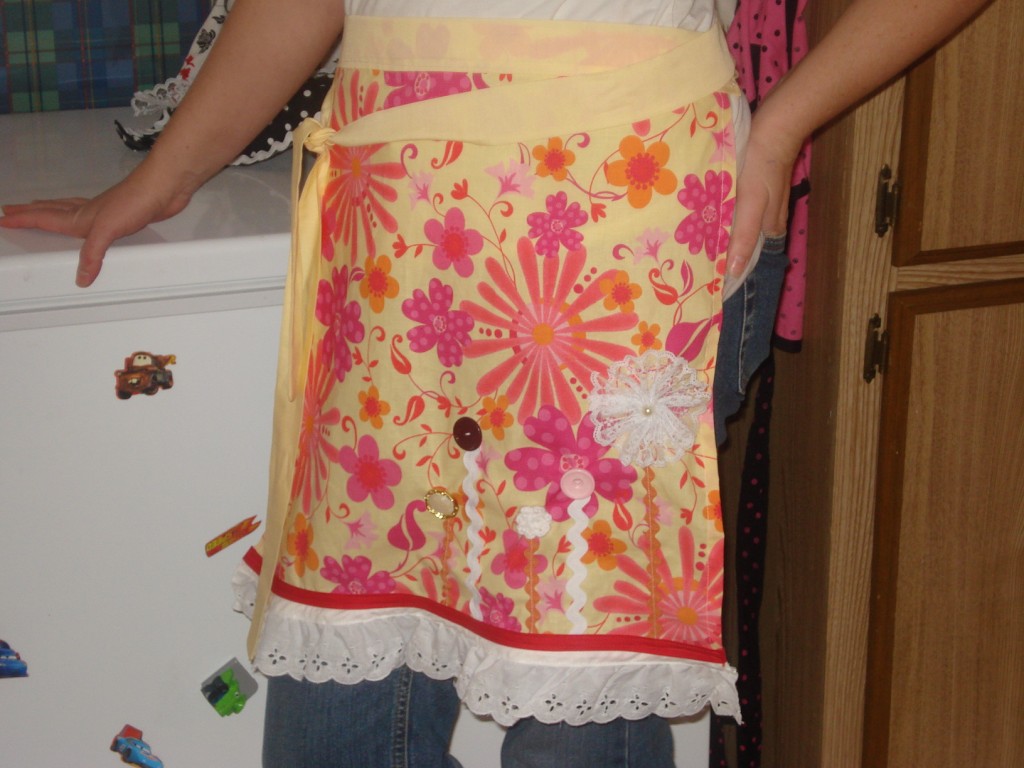
Bridal Shower Apron

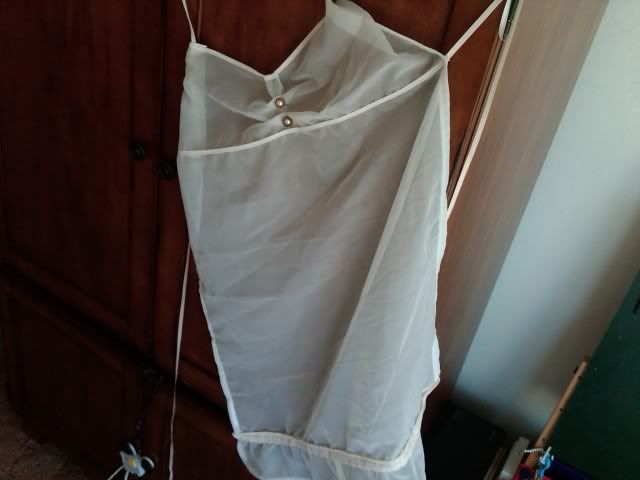
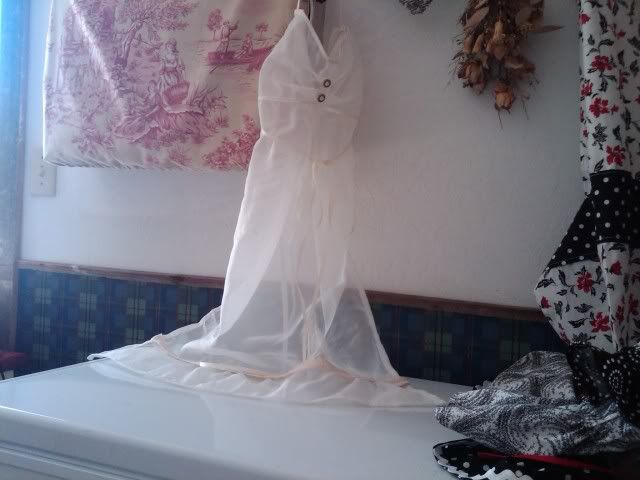
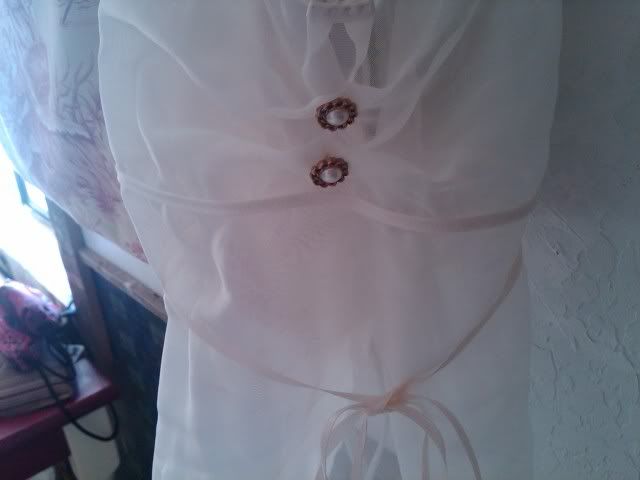
When I was in college, I saved my pennies and bought a sheer curtain thingy that I thought would be really pretty.  It actually ended up only being slightly pretty, and I later pulled it apart to make a bunch of sheer curtains that looked much better.

But they still didn’t look all that great.  So.

I chopped them up again.Photobucket

Reason being: The BUNCO theme for tonight is COMFORT.  The little devil on my left shoulder pointed to the heap of sheer fabric sitting on top of my scraps and said, “How about whipping up something… a little more comfortable?”Photobucket

I used the baby doll style apron I made a couple weeks ago as a pattern (ish) and went to work.  I was so excited to take it tonight, but I should know by now that anytime I get excited about BUNCO.  Yea, anytime I MAKE something and GET EXCITED about BUNCO, the hubsters will have to stay late at work.

I had to get a sitter for my children Tuesday so my husband and I could attend Stake Training.  I had to get a sitter for my children Wednesday so I could go to the doctor.  I’ll have to get a sitter for the kids tomorrow so we can go on a date.  Point in case: I’m staying home.Photobucket
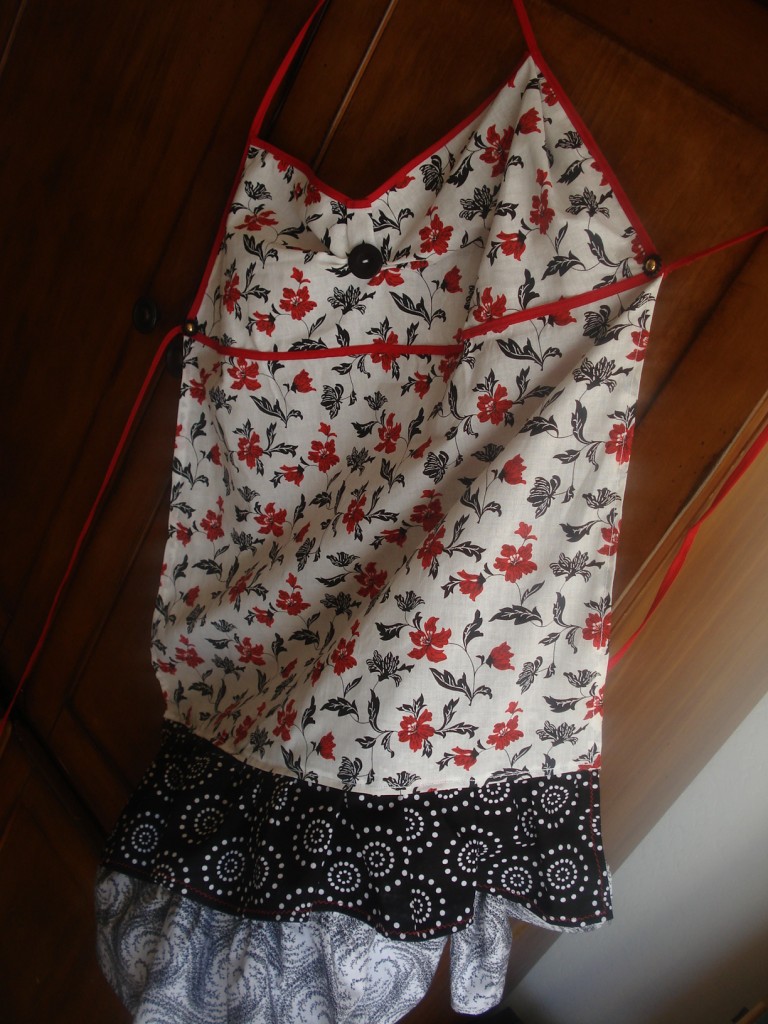
But yahoo for the bridal shower I’ll be going to on Saturday.  My gift is ready!  Hopefully she doesn’t try to cook in this apron…

However, it is maternity-friendly. I’ve always been very practical.

Posted in Aprons | Tagged , | 1 Comment

Dream Journal

I have a cousin who writes. We like to get together and talk about writing because it’s comfortable. I feel 100% comfortable telling her all about my crazy writing things like “sometimes I get mad when my fictional characters don’t drop me a line. I mean, I’ve devoted so much time to them and they never come around! All I’m saying is that an email would be nice.” See that? Crazy talk. But not to her.

All my life, I’ve had off-the-wall dreams. My college roommates used to gather around to listen to my latest weird dreams. Aside from being radically nuts, my dreams have always served one great purpose: they’ve given me writing ideas. I once had a dream that completely dissolved my writer’s block and “fixed” every big problem I had with my novel.

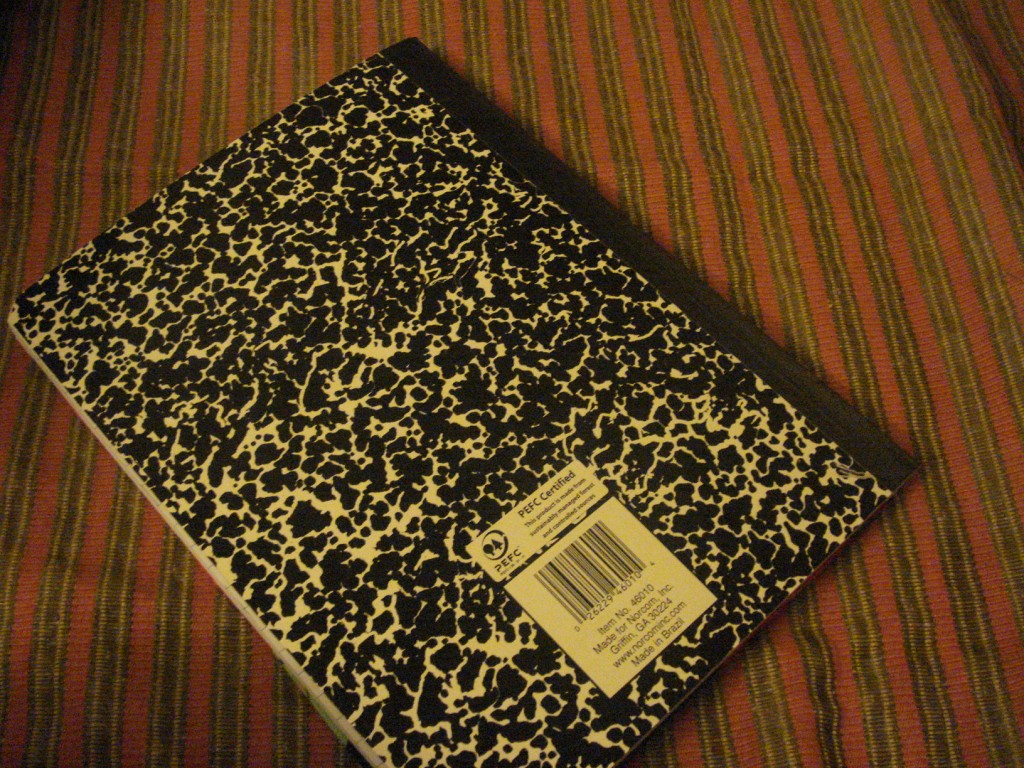
That being said, my cousin just turned 17. For her birthday, I decided to make her dream journal. I’ve never attempted anything like this before, but I am really happy with how it turned out.

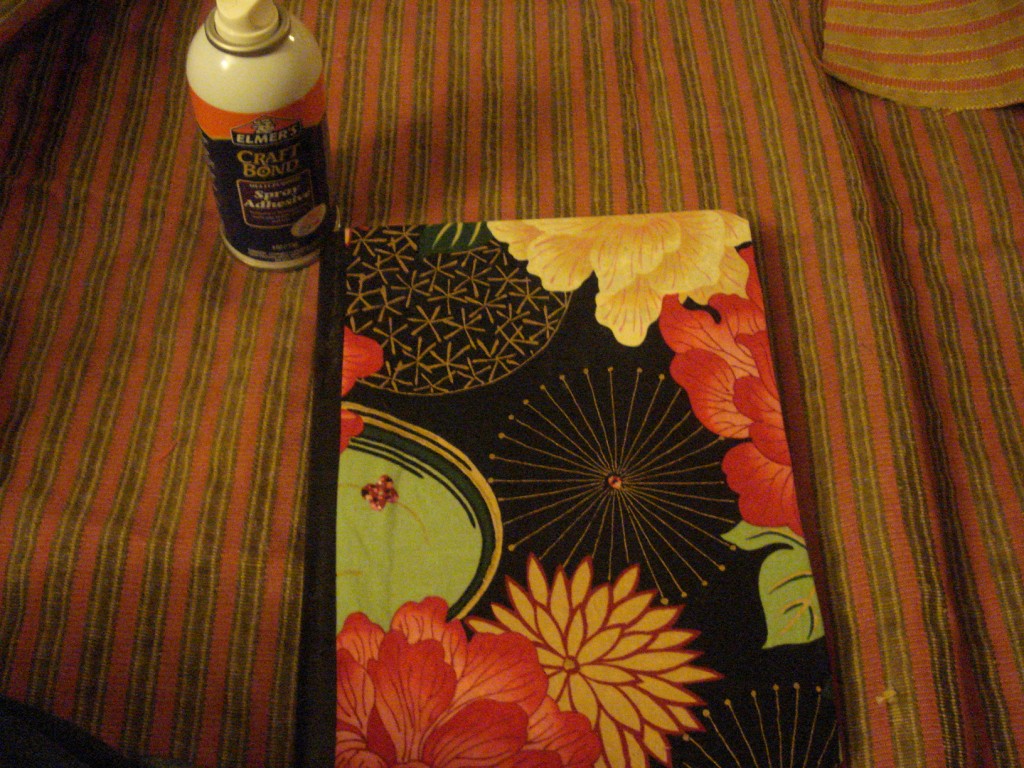
Did you know that they make SPRAY ADHESIVE?!?! My life is never, ever going to be the same. EV-ER. I started out with a $1 notebook.

I sprayed the notebook and put fabric on it, tucking under the raw edge on the side and folding the rest of the raw edges under the notebook cover.

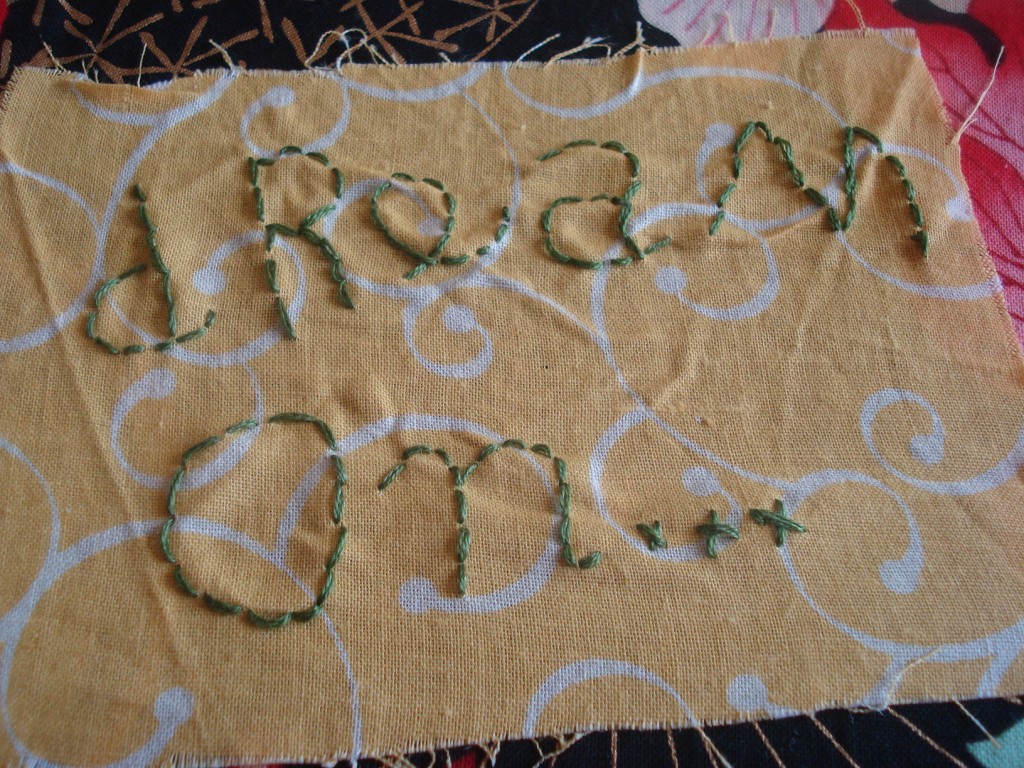
I then took a complimentary piece of scrap fabric and stitched the words “Dream On…” into it. Obviously, I didn’t follow any sort of pattern at all. I didn’t even use an embroidery hoop because the fabric was too small and I was too lazy to get up and get it anyhow.

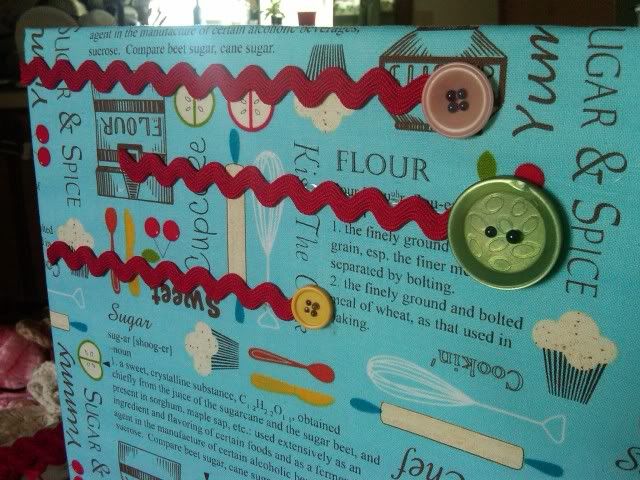
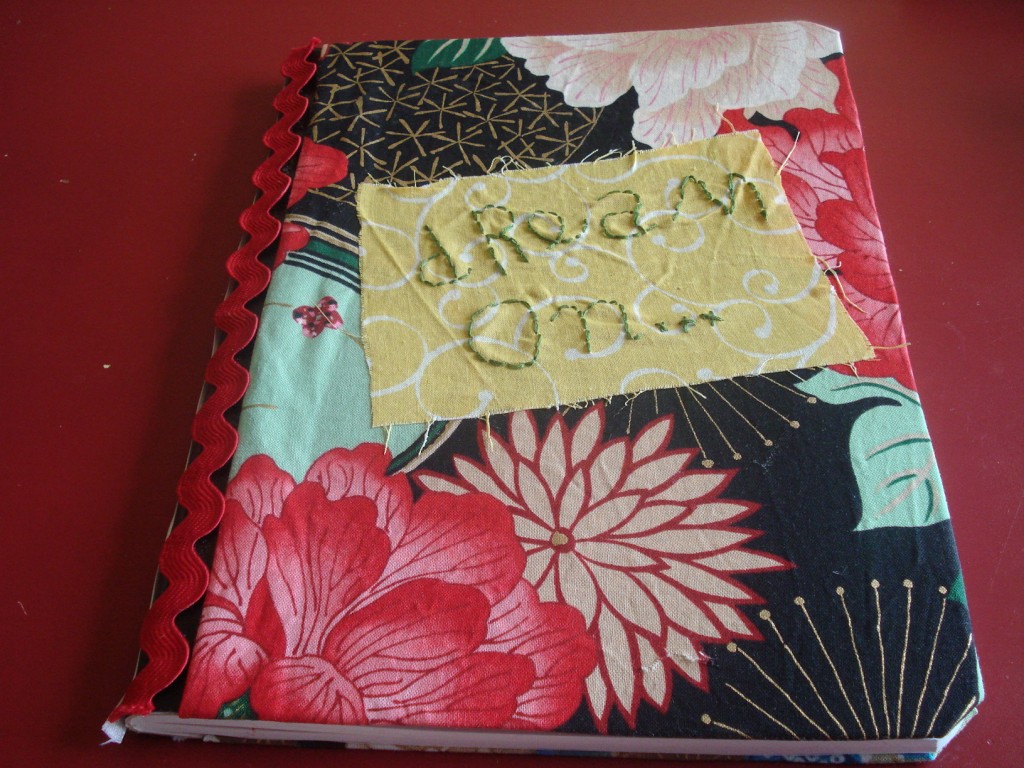
I spray-adhered it to the cover and then I added some ric-rac to the binding.
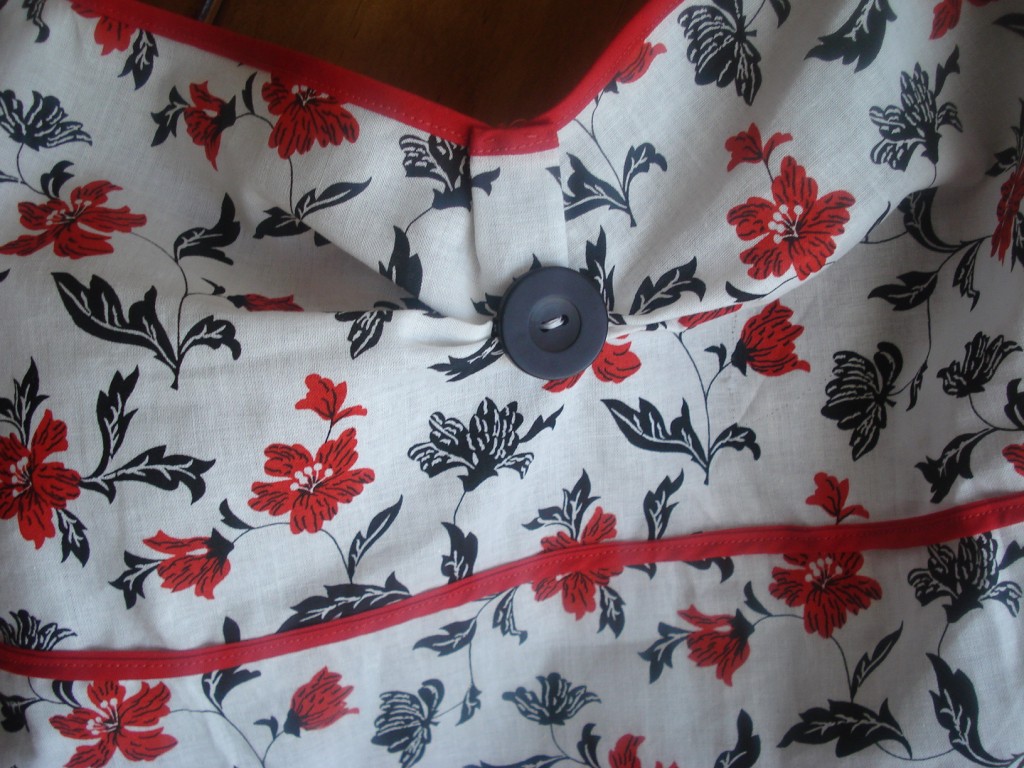
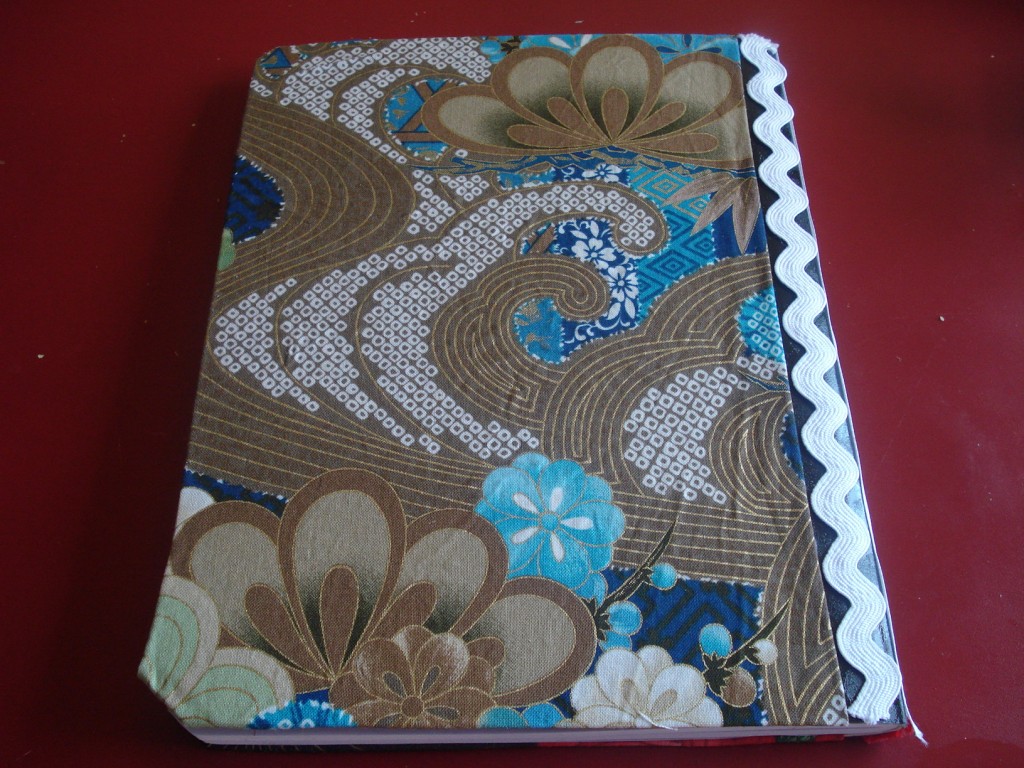
I repeated the process on the back (minus the cruddy stitching).
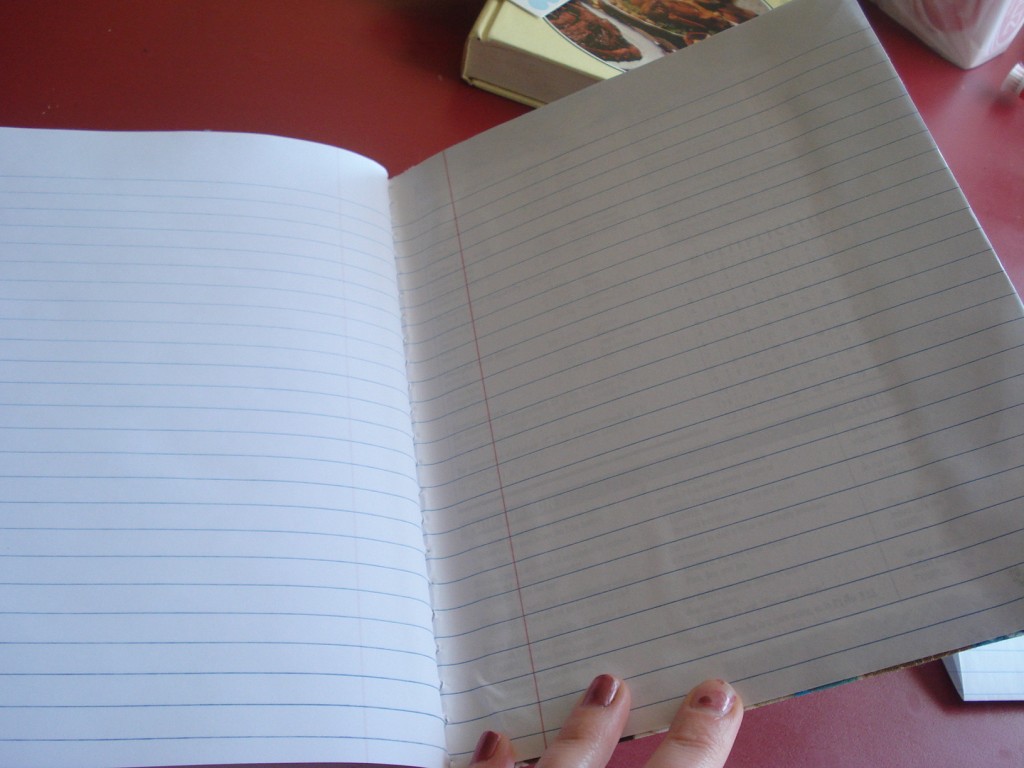
To cover the raw folded-under edges on the insides of the covers, I just glued the first and last pages to the inside covers. Like so:

It probably would have looked better if I’d taken a perfectly cut-to-shape piece of cardstock and covered it. But I made this journal around 11 pm and there’s no such thing as cutting anything perfectly that late at night. Not for me.

I hope she likes this little journal and I hope she gets some use out of it. In any case, I know for a fact she won’t think I’m crazy for giving it to her. Love that girl!

Posted in Paper Crafts | Tagged , , , , | Leave a comment

Aprons!

First of all, here’s the apron I made for my daughter that looks like mine.Photobucket
I used the casing where a curtain rod would normally be for the top of the apron. I ran a ribbon through it. She gets a big kick out of tightening it… loosening it… tightening it…Photobucket
She hardly took it off all day -she even wore it to the salon to get her hair cut!
Photobucket
She loves the flowers. She specifically requested an apron with flowers. She usually gets what she wants.

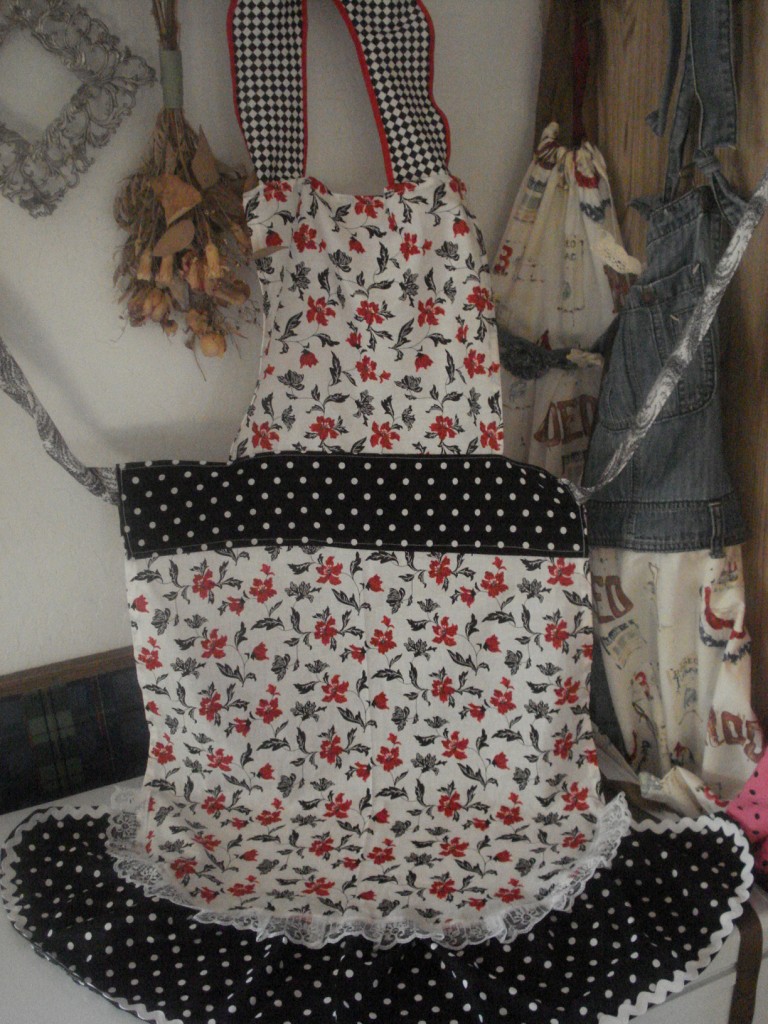
Here’s the apron I made when I finished Lacy’s apron:

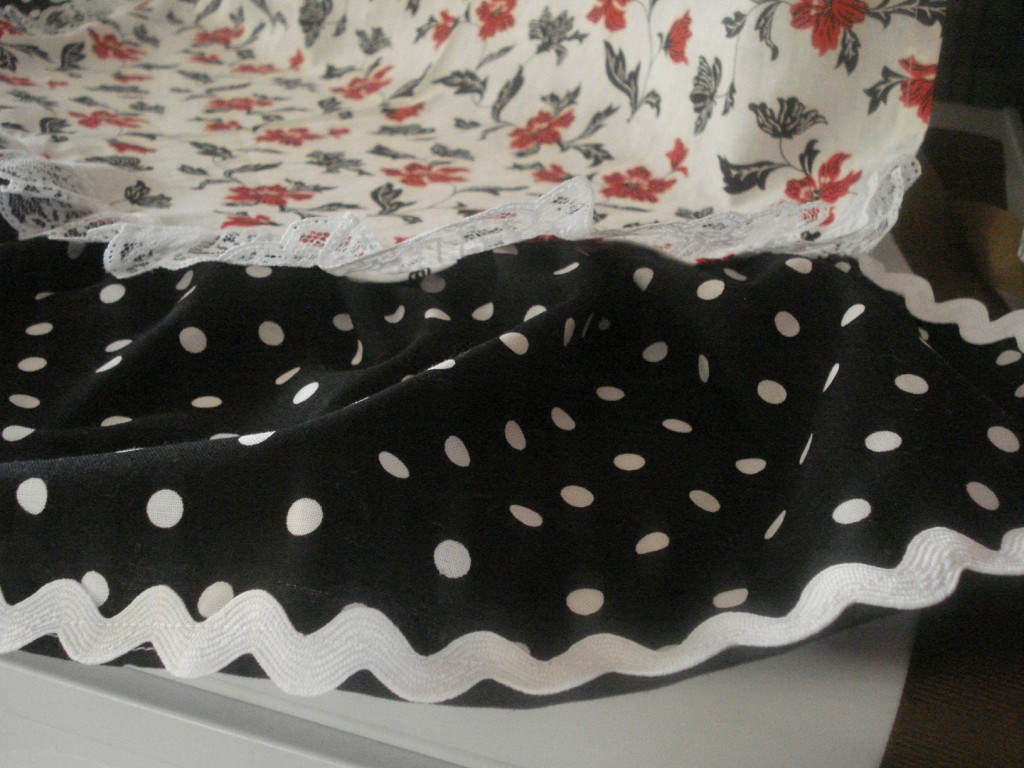
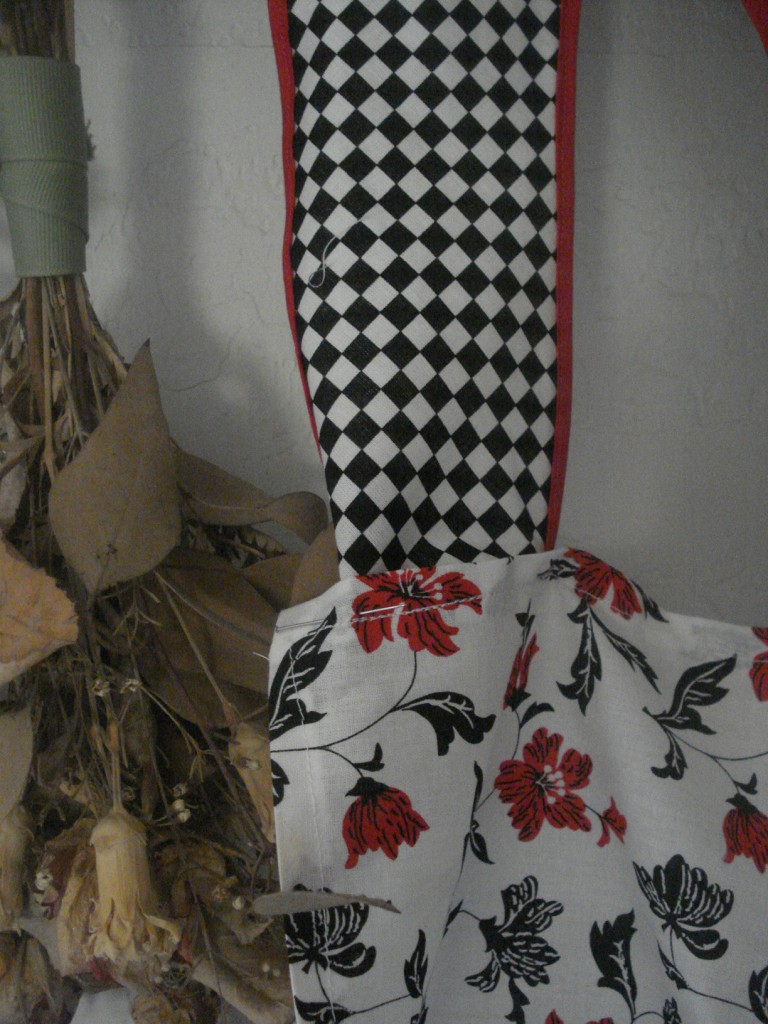
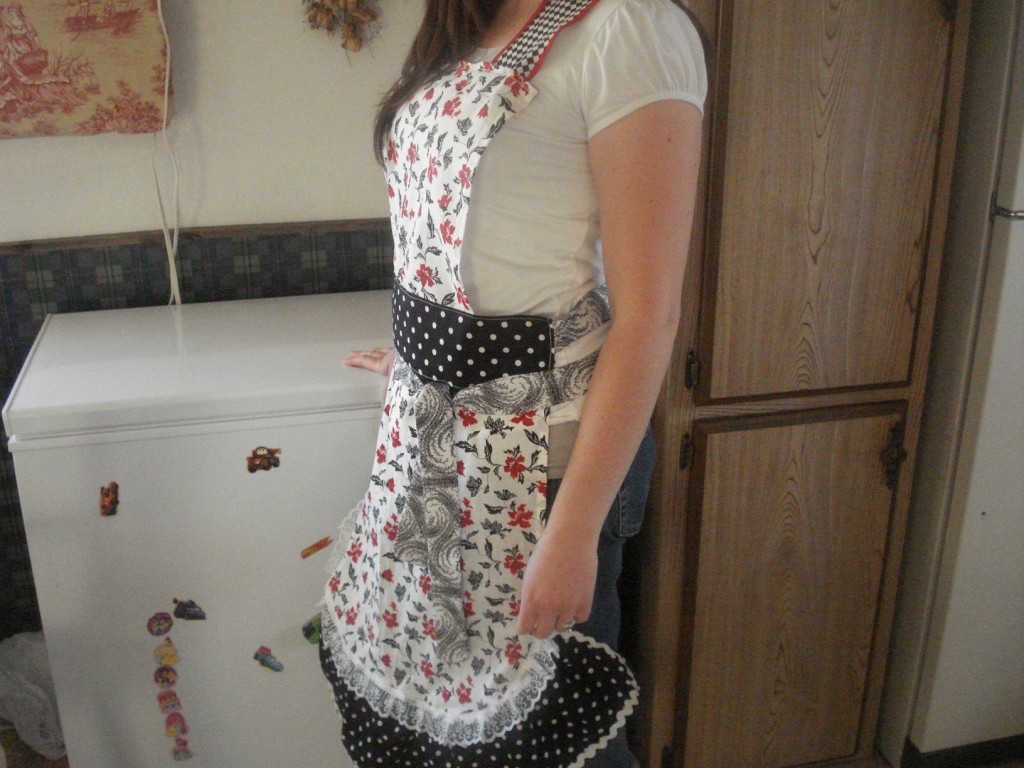
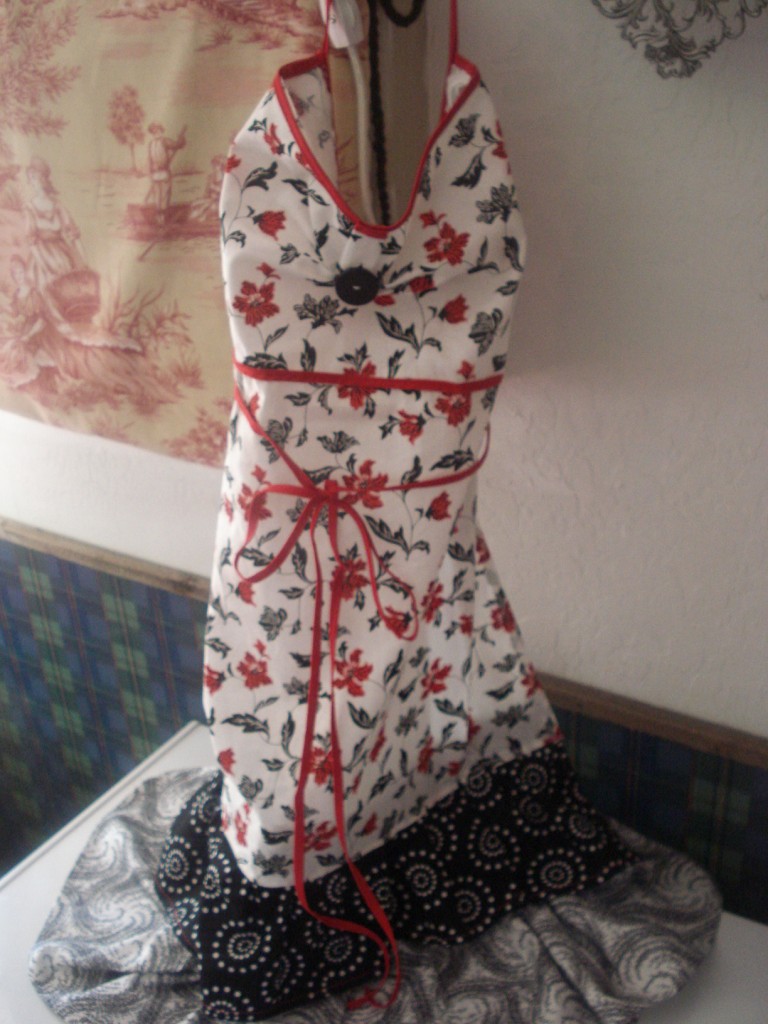
I didn’t use a pattern and it ended up taking much longer than I thought it would. I was happy with how it turned out though. I just felt bad that my husband came home and the house was strewn with toys and apron embellishments.

I don’t usually choose black and white fabrics, but I really loved working with them.


The next day I made an apron for one of my Beehives who finished up a personal progress goal on cooking. I’ve told the girls that if they finish the goal to help their mothers plan a menu, cook and serve the food for TWO WEEKS that I’d make them an apron. I’ve made four aprons so far -and I’m so proud of my girls!

Today, I took the leftover fabric from the black and white apron and started piecing another one together -again, no pattern. I had no idea what it would look like, but as I worked I kept getting ideas.

Photobucket

It’s got the look of a baby doll dress, and it’s maternity friendly but it doesn’t scream “I’m pregnant!”
At least, I hope not. Does it? Don’t answer that…

I’m in love! I’ll definitely be making more of this style!

Posted in Aprons | 1 Comment

Repurposed Apron

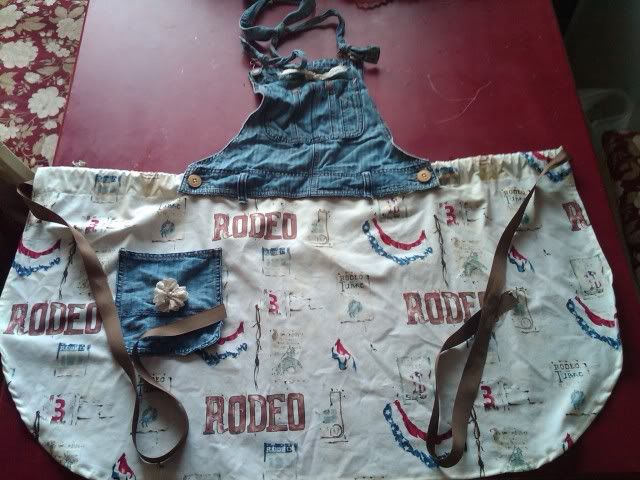
Yesterday I did something I’ve never done before: I made an apron for myself.  Before I show it to you, I need to say a couple things.

#1) It isn’t my “dream” apron.  Not that I have a dream apron, but this one just isn’t my supreme idea of, well, cute.  I’m proud of it, but it isn’t the cutest crayon in the box.

#2) I originally planned on selling it, but by the time I had finished it I realized no one would buy it on account of it’s not being all that adorable (as aprons should be) and also I made it out of my favorite pair of overalls that I literally wore thread bare.  No matter that they were hole-filled and thin as could be, I couldn’t seem to part with them.  Now that they’ve been repurposed into an apron, I still can’t seem to part with them.  I loved those overalls.

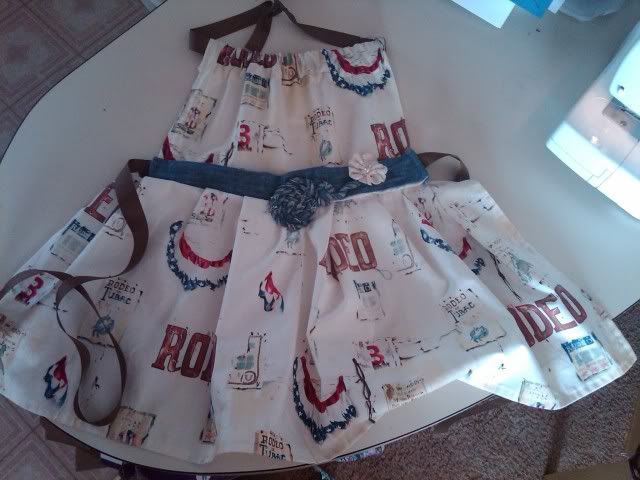
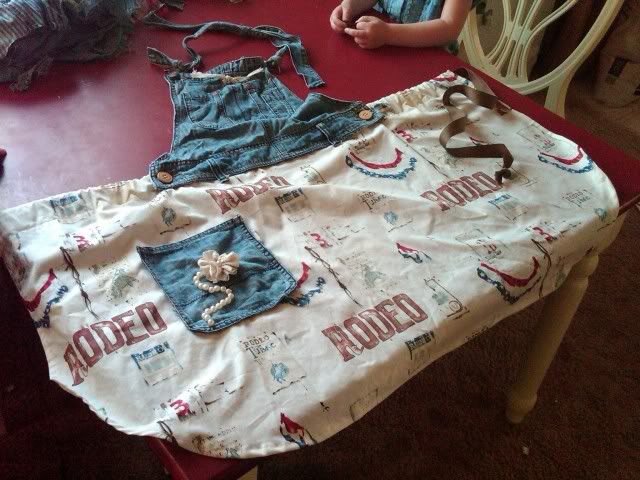
#3) I made this apron out of my overalls and the discarded curtains from my kids’ room.  When we moved in, there was some sun-bleached curtains hanging in the kids’ room.  They were really thin and worn.  When my husband took them down (it only took us a year), he handed them to me and said, “You could make something with these.”  Truth be told, I hadn’t thought ONCE about making something out of them, but since he said it…. Check out the waistband area of the apron -it’s the top of the curtain.  I used the casing that usually holds a curtain rod to hold the ribbon I used for waist ties.

Photobucket

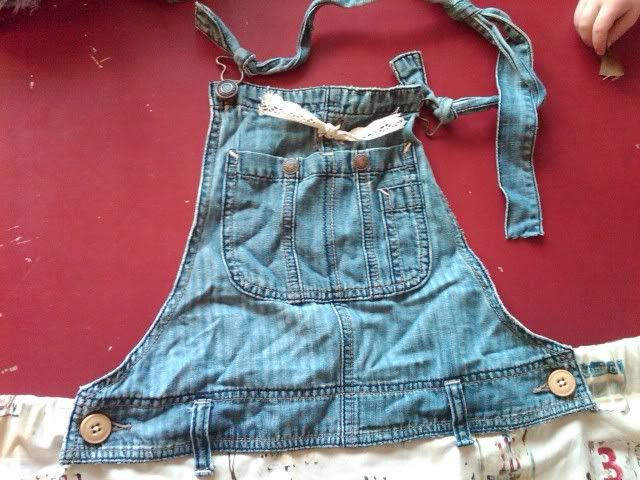
#4) I hate projects made out of jeans. I do!  I hate them!  This probably accounts for my not thinking this project is all that cute.  The only thing I hate more than projects out of old jeans is western-print bandanas mixed into the project.  I don’t mean to bring any negative energy to this post, and I will say that some people manage the task of repurposing expertly.  I’m not one of those people.  I just love overalls to pieces.  Literally.  Anyway, I wanted to add some embellishments to the apron that looked a little more feminine and soft -something far from the bandana look which I can’t pull off at’all.

So I added some lace to the bib.Photobucket
It turns out, the button holes I tied the lace through weren’t button holes at all. They were sewed up tight! I used my trusty scissors and cut through them, by jingo.
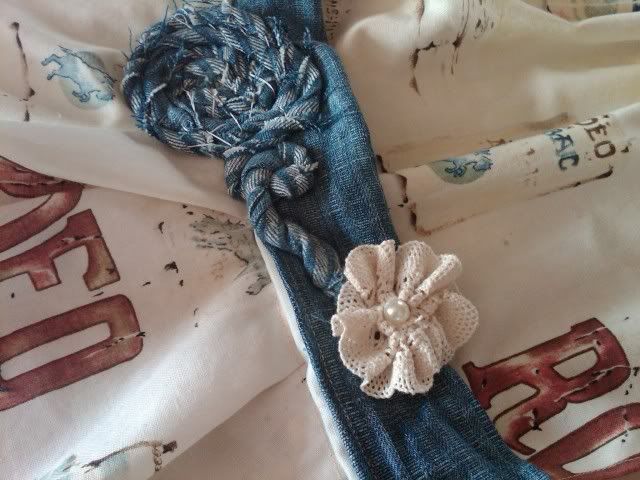
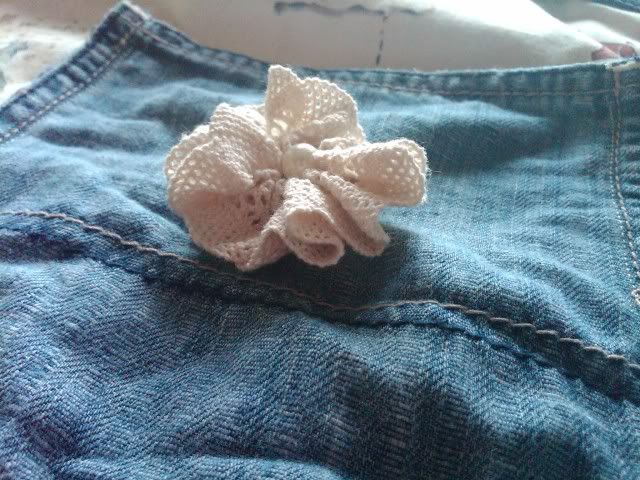
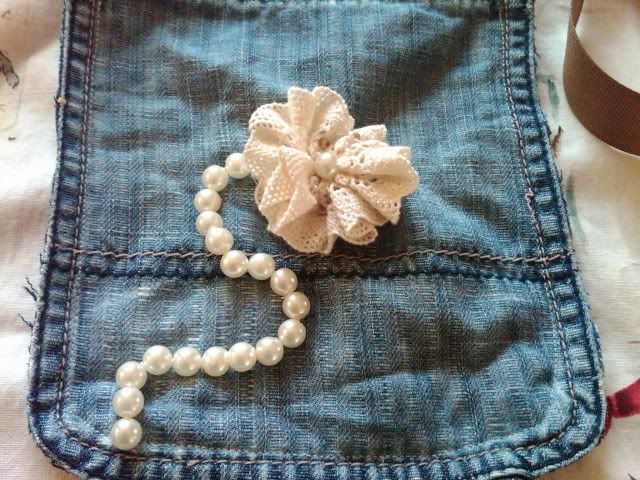
When I was done, I gathered a strip of lace and twirled it up to make a flower. I put a pearl in the middle and stitched it to the bib. Then I cut it off the bib and stitched it to the pocket.
Photobucket
But it felt a little naked and lonely. Bad combo.
Photobucket
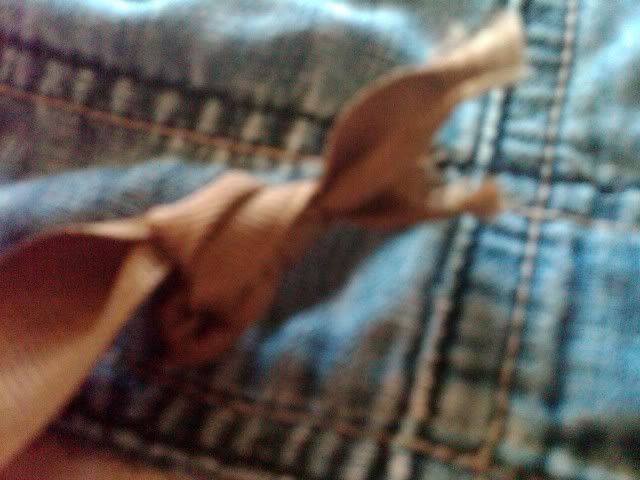
I knotted up the ends of the ribbon and purposely frayed it. I wish I could have gotten a wider ribbon in the same color, but Wal Mart didn’t have any.
Photobucket
The finished product:
Photobucket
It looks much better live.
Not that it’s actually ALIVE.

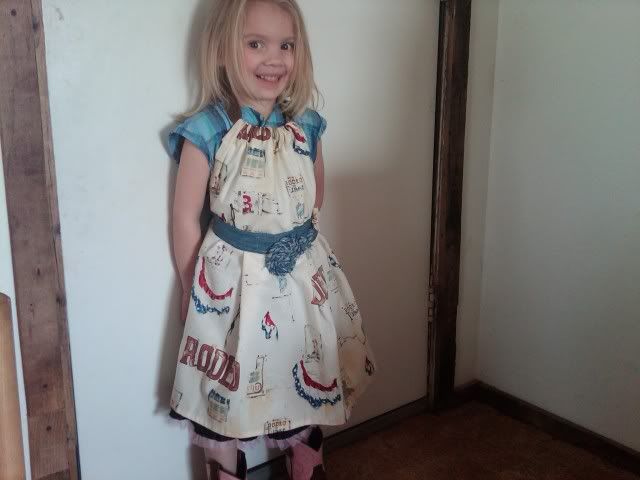
Today I’m going to get to work on making Lacy a smaller apron that coordinates with mine. She loves matching her mama, and she loves cooking. I plan on one day making us cuter, froofier (what? it’s a word at our house) aprons, but that day probably won’t come until her bridal shower.

Posted in Aprons | Tagged , , , | Leave a comment

Crochet Projects

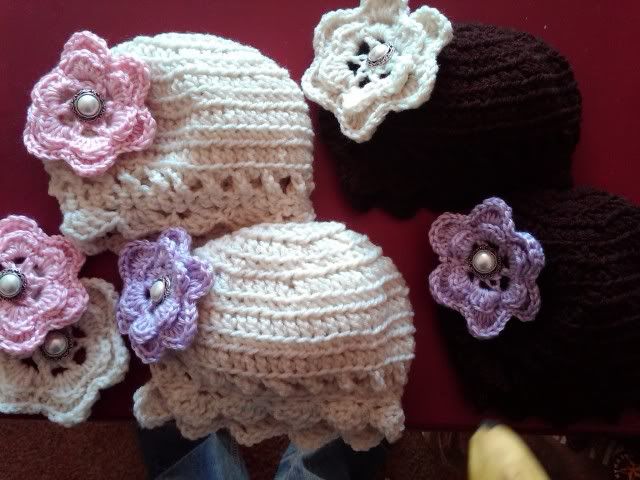
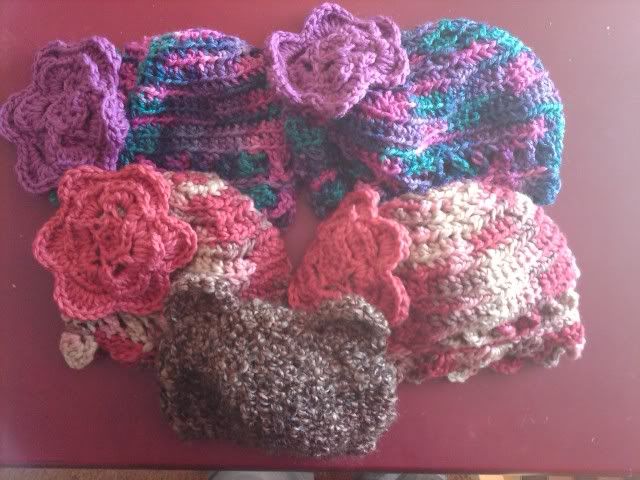
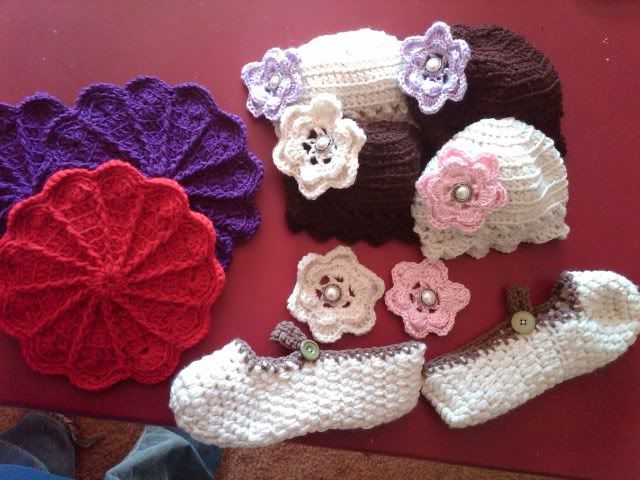
I’ve had crochet orders rolling in, and I’m so happy about it! I’m trying to squirrel away cash for my husband’s big #30 bash. Here’s a few things I’ve been making:

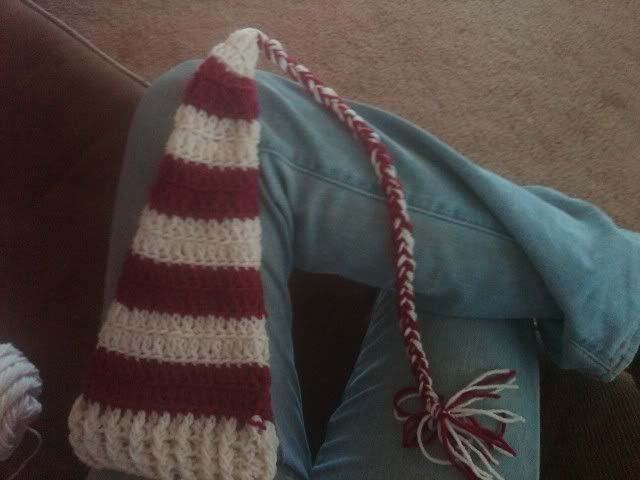
The elf hat is $17 -if more colors or smaller stripes are wanted, it is $22.


The flapper-style crochet hats for girls are $10. The flowers are interchangeable. The hat comes with one flower. Each additional flower is $3 (I could charge less if you’d like to sew your own buttons in the center).


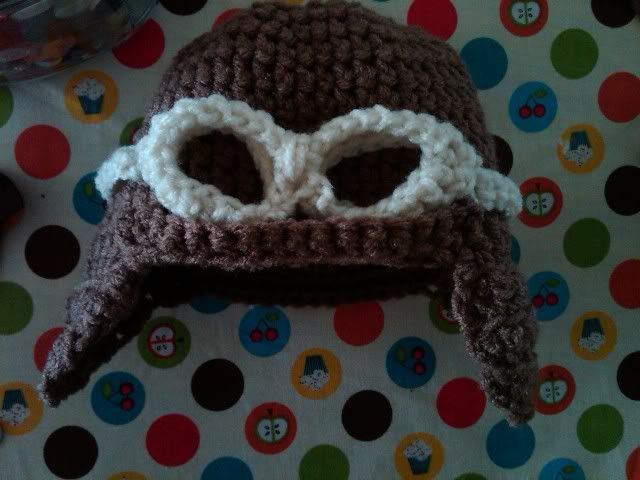
The Aviator Hat (which I just LOVE!) is $15. The “goggles” aren’t stitched on, so you can take them off and put them back on as you please.
If you look close, you can see the bear hat in the front! It’s $10. I want to crochet some teeny tiny soft pink roses and bobby pin them to the ears.

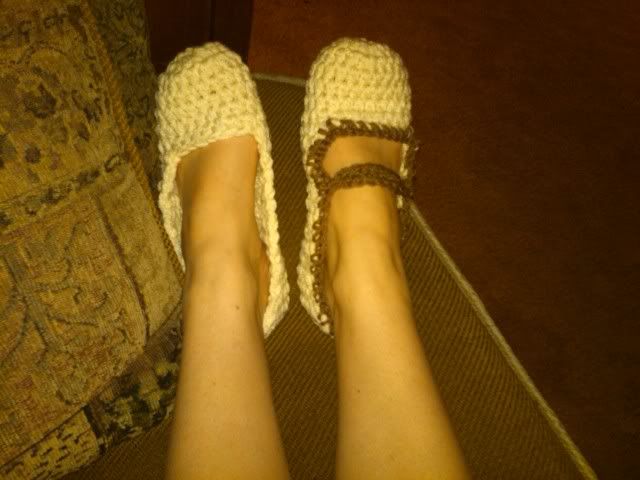
In other non-hat crochet news, I bought a pattern I’ve been wanting for awhile. Crochet slippers. I made them just like the pattern suggested, and I didn’t like them as much as I thought I would. So I modified them.
The one on the right is the one I modified. I added a strap and a button, giving them a more “Mary Jane”ish look, and I DO NOT want to take them off! Seriously!
It’s Bunco tonight, and I’m going to make a pair of these babies to take away as a gift.
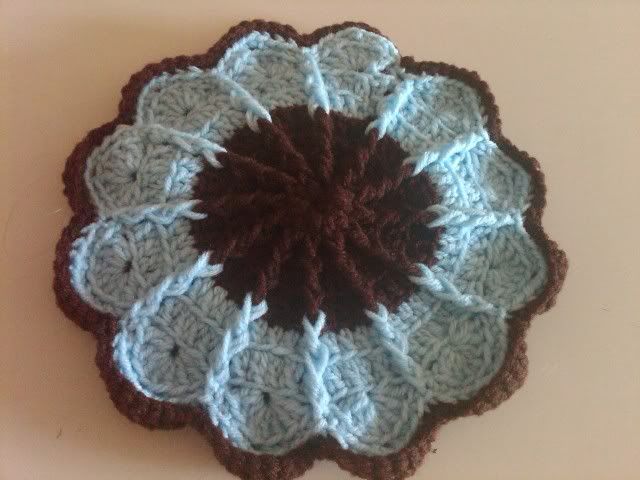
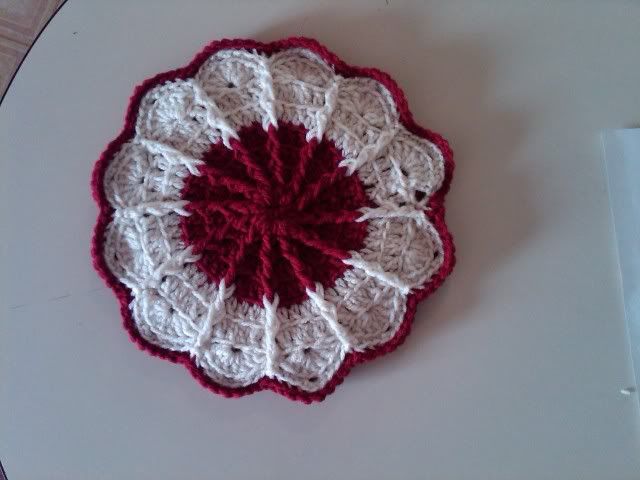
Lastly, I’ve been cranking out hot pads. I got my first order ever for single-color hot pads. They wanted very bold colors, and I LOVE crocheting with bold colors!
I tried putting blue and brown together.
And there’s always the burgundy and cream -a classic and a favorite!


Crochet hot pads are $10 each -they are THICK and wonderful!
Today I’m going to be making slipper and putting ears on bear hats. What I wouldn’t give for a mountain of cream-colored yarn today. A trip to the store might be in order.

Posted in Crochet, Crochet Hats | Tagged , , | 1 Comment

Easy Christmas Decor

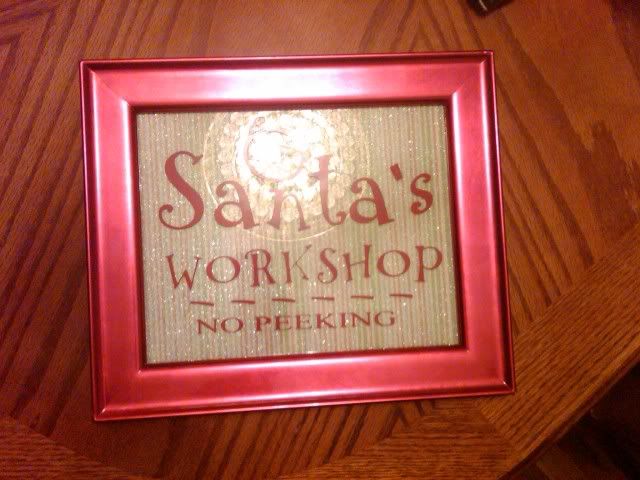
My Aunt just returned home from a short trip to Eastern Arizona Area.  There’s lots of Mormons there, which is to say: there’s lots of Mormon WOMEN there and I had to snap a picture of one craft they made in their Super Saturday crafting.

If you can look past the reflection of my grandmother’s chandelier in the glass (gorgeous!), you can see that they just took a simple frame, put sparkly scrapbooking paper in it and put vinyl lettering ON TOP of the glass.

I love it when I can make something simple like this and have it come out looking GREAT!  Thanks to Auntie JuJu for sharing!

Posted in Christmas Crafting, Home Decor | Tagged , , , | Leave a comment