Hot Pad Love

I have a slight infatuation with hot pads.

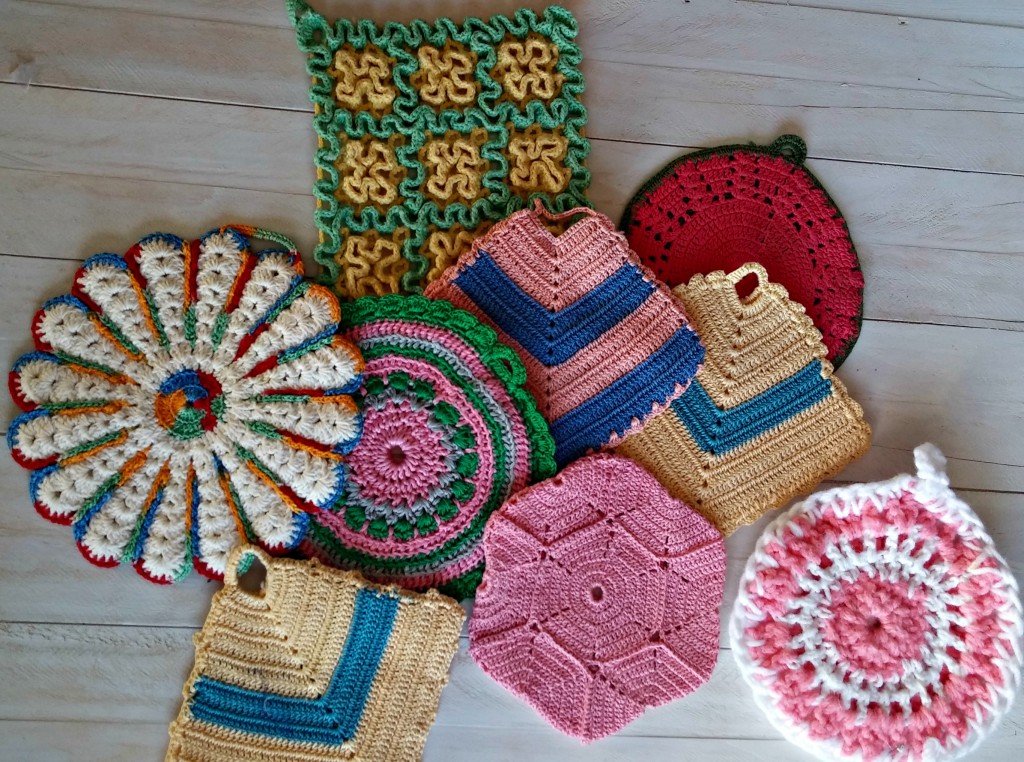
Don’t get me wrong. I’m not a total hoarder… I’m a very selective hoarder, but it probably doesn’t help that I love making them as much as I love buying them.
I love scouring antique shops and finding them priced RIDICULOUSLY low ($2? Doesn’t even cover the cost of the yarn, even if it was made in 1950).

vintagecollection1

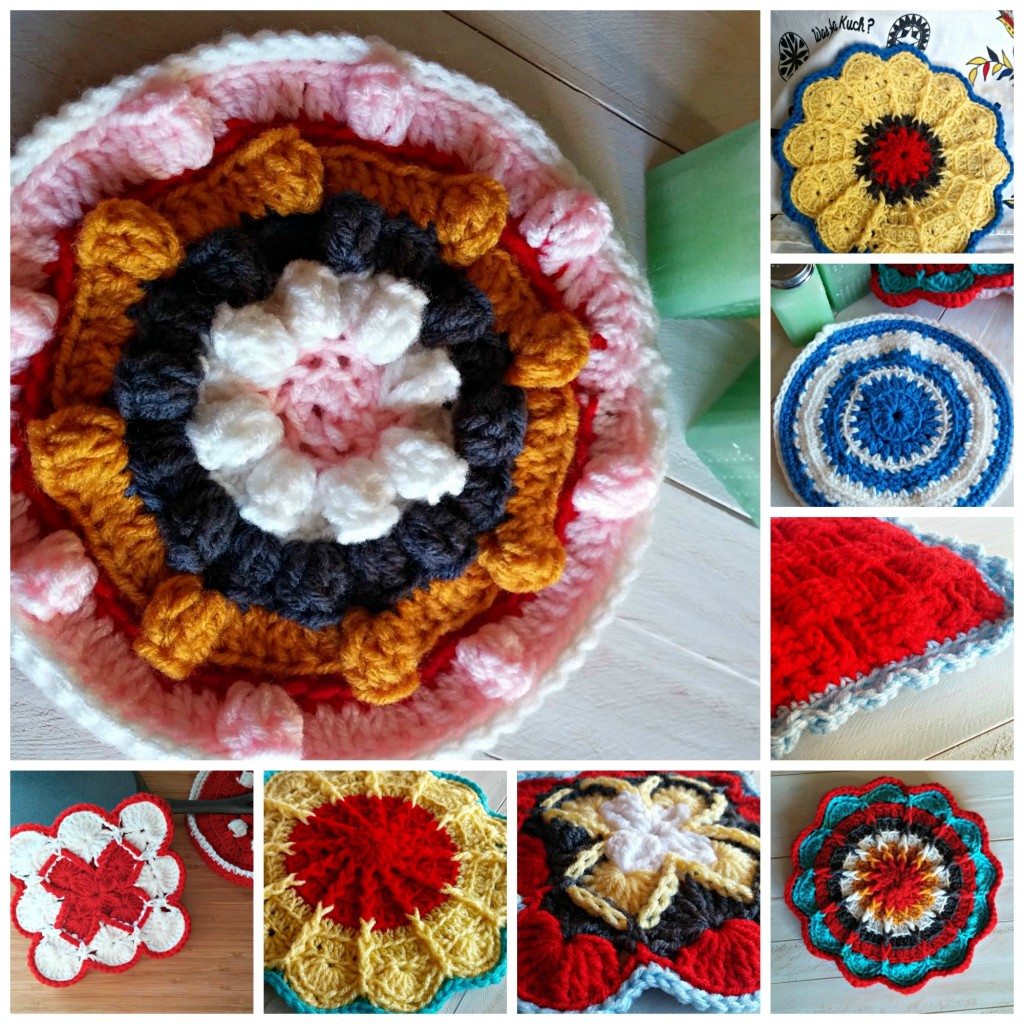
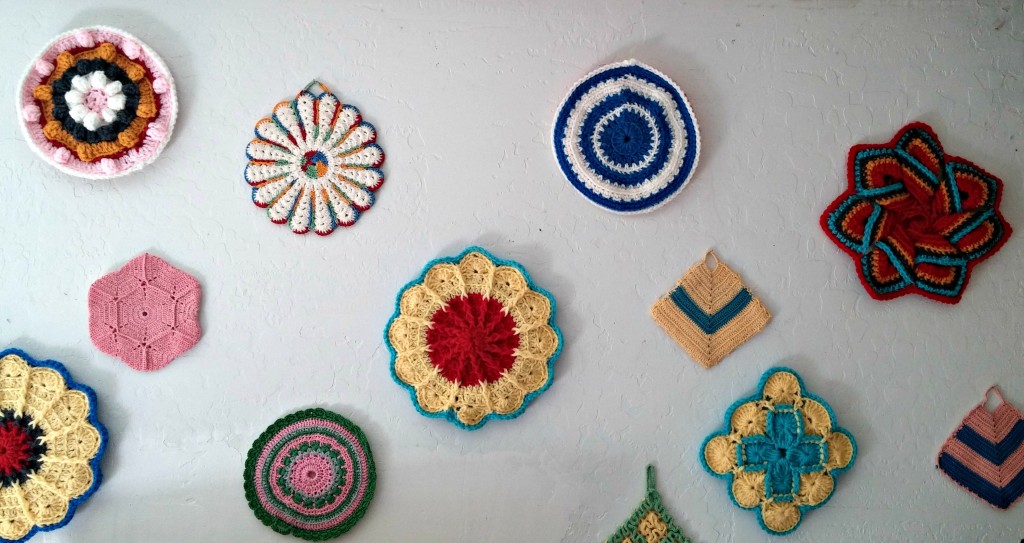
The bright colors just make me so happy, but I felt silly leaving them all piled up in a wire basket in my room… so I hammered some needles into my wall (no measuring, of course, because then it would look like it made some kind of sense and it absolutely does not) and started hanging.
wallcollage

Now they are all over my wall, and I couldn’t love it more! I keep finding myself on Pinterest finding more inspiration (as if I need more) (but I totally do) (is this how shoe addicts feel?):

potholder(via flickr)

scrappy potholders for teacher gifts

via Blooming Poppies

DIY Recipe Potholders

via My So Called Crafty Life

Crochet Hot Pad - Cotton - Yellow, Tangerine, Red - Fruit

via Made By Hand

I just can’t get enough.  Are there groups for nerds like me?  Recovery groups?  With people under the age of 80?

hotpadcollage3

Posted in Uncategorized | Leave a comment

Candy Tractor

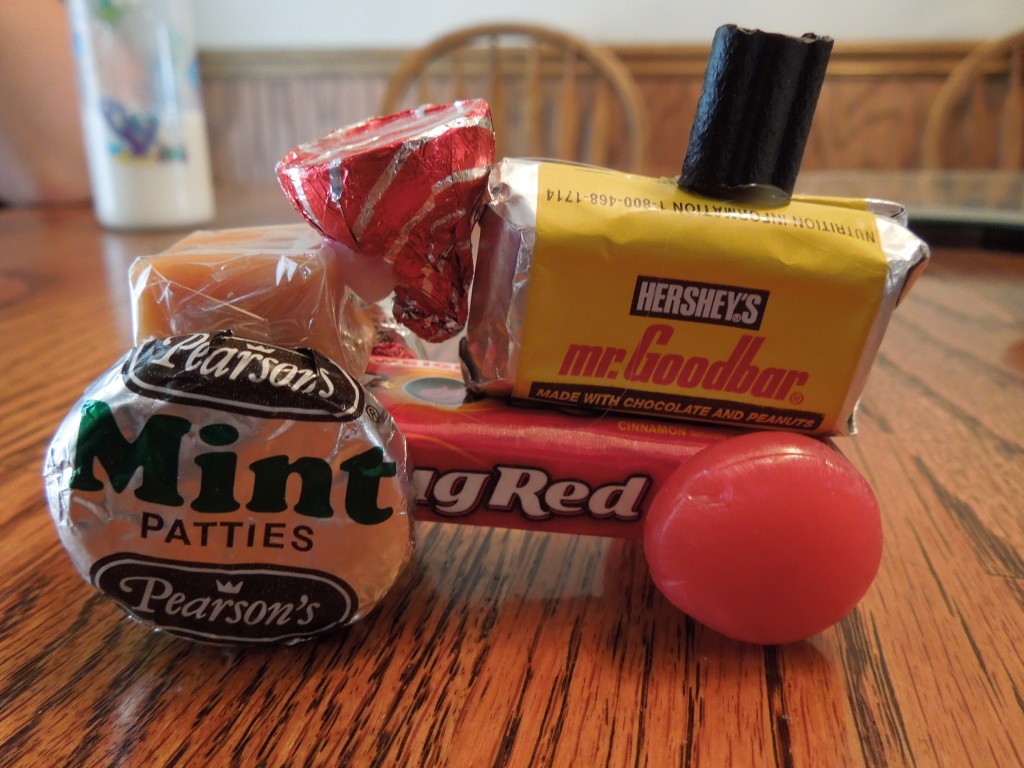
Over the weekend, we had our small town’s Founder’s Day celebration. Per tradition, there was a tractor show which, unfortunately, I didn’t get to go to because I was busy at the boutique. But the next day, I was at my grandmother’s for a BBQ and I saw this lovely ditty that someone had said they think came from the tractor show:

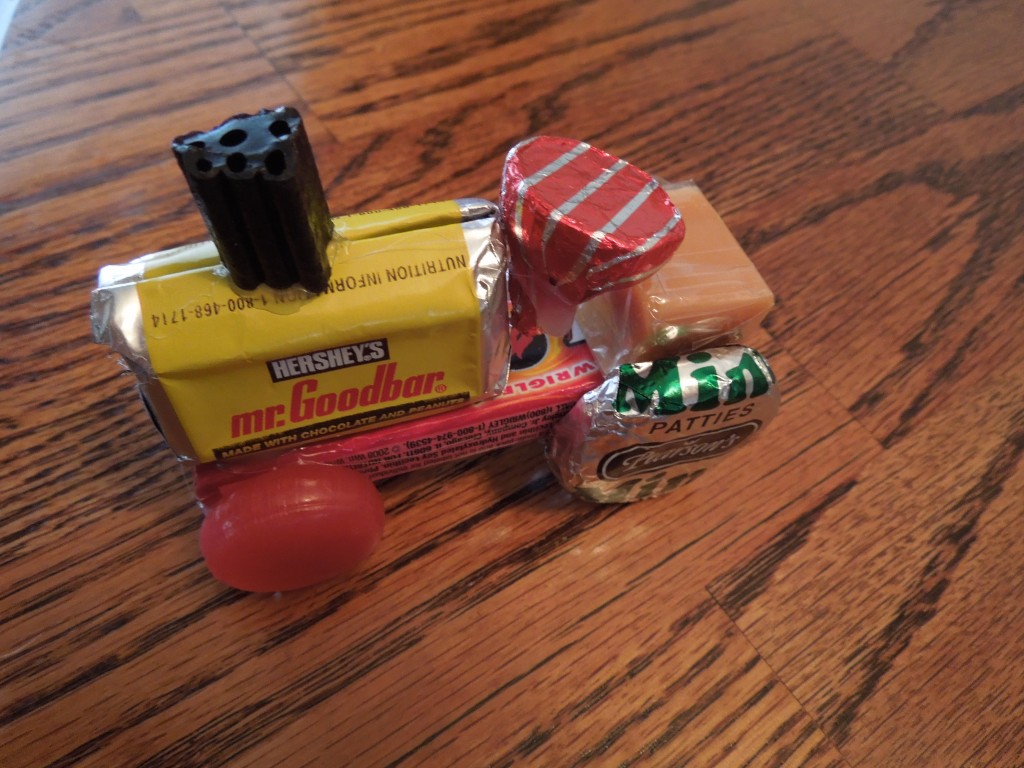
Isn’t it adorable?! And it would be so easy to make!
All you’d need is a small pack of gum (the kind that used to cost 25 cents), 2 mint patties, two cinnamon discs, a Hershey’s kiss, 2 mini chocolate bars -the flat kind, a square caramel, and a licorice bite for the top!

They would make the BEST party favors!

Posted in Kid Crafts | Tagged , | Leave a comment

Boutique Apron

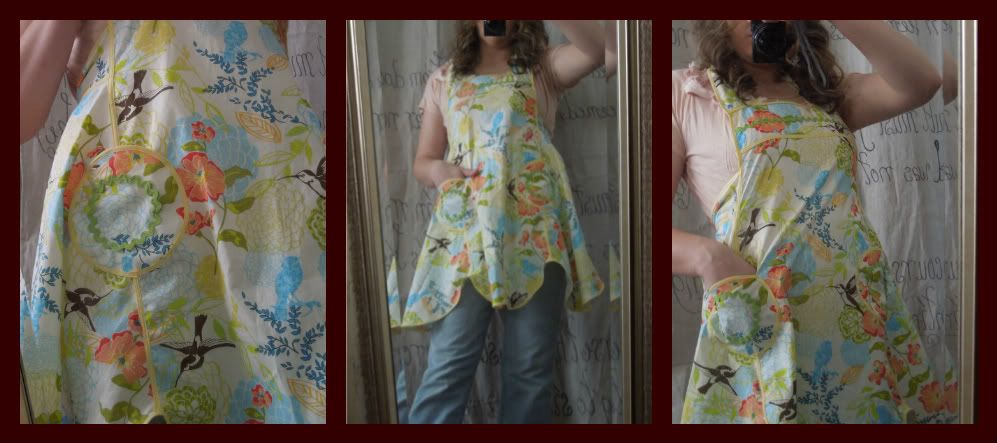
I just finished the apron.  I’ve been working on this apron for a looong time -mostly because my sewing skills are seriously lacking.  I can’t even count how many times I messed up, and it didn’t help that in the middle of my sewing, my sewing machine just… quit working.  I got it back up and running (I’m such a champ!) and here’s what came of all those hours:

Photobucket
I bought enough to make THREE of these babies, so guess what I’m about to do? Cut another one out. May my machine survive this attempt! If not, I’ll revert back to my trusty no-sews!

Posted in Aprons | Leave a comment

No-Sew Apron

Sooooooo… I’m going to be selling my aprons at a boutique which is why it was terrible bad luck that my sewing machine quit on me. Mid-stitch.
I HOPE all it needs is a little oiling. *fingers crossed*
In the meantime, I had to turn to my other apron project -the one that doesn’t require sewing.
This apron is my trial apron, so it had little mistakes along the way that I learned from. How’s about you learn along with without having to make the same mistakes?
Sound fun?

For this apron, you’re going to need:

A BBQ-style apron (can be easily purchased at a craft store or at Wal-Mart for pretty cheap)
Craft paint (I’m sure fabric paint would work as well)
Iron-on Transfer Paper (can be found at craft stores)
Painter’s Tape
Foam brush
An iron
Printer
Image of your choice

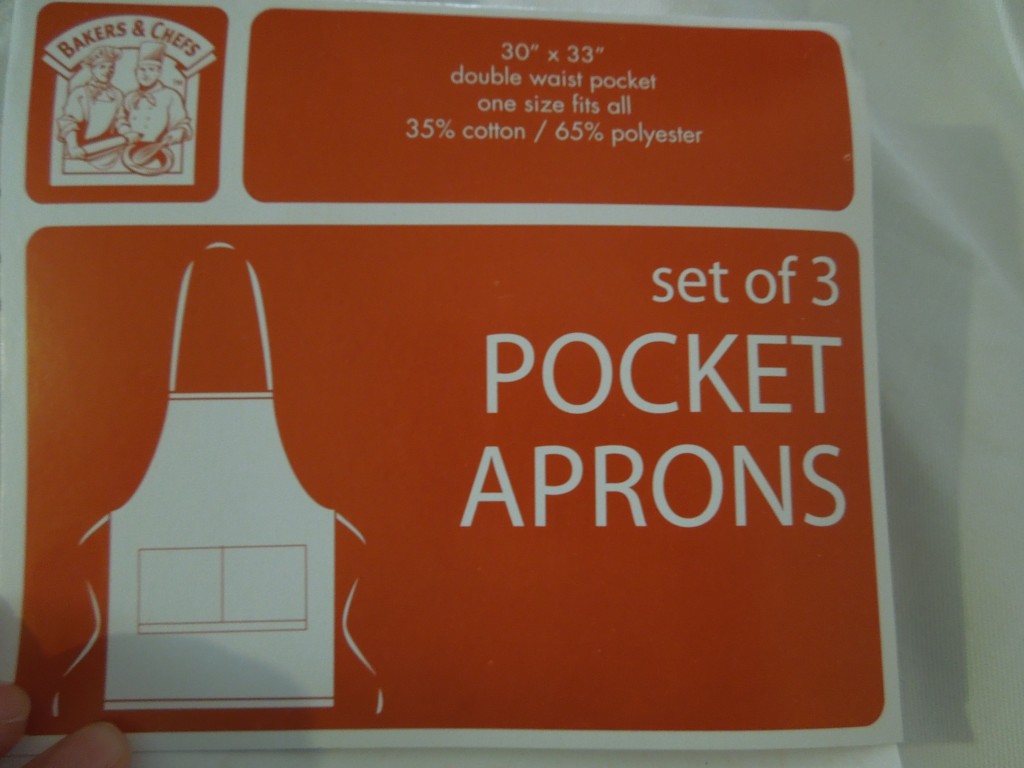
I bought my aprons at Sam’s Club. I think they were $13 for 3. Not too bad!

I wanted the pockets on the front. Make sure you check the pocket situation before buying your apron! You don’t want to end up buying something you don’t like (like a pocketless apron).
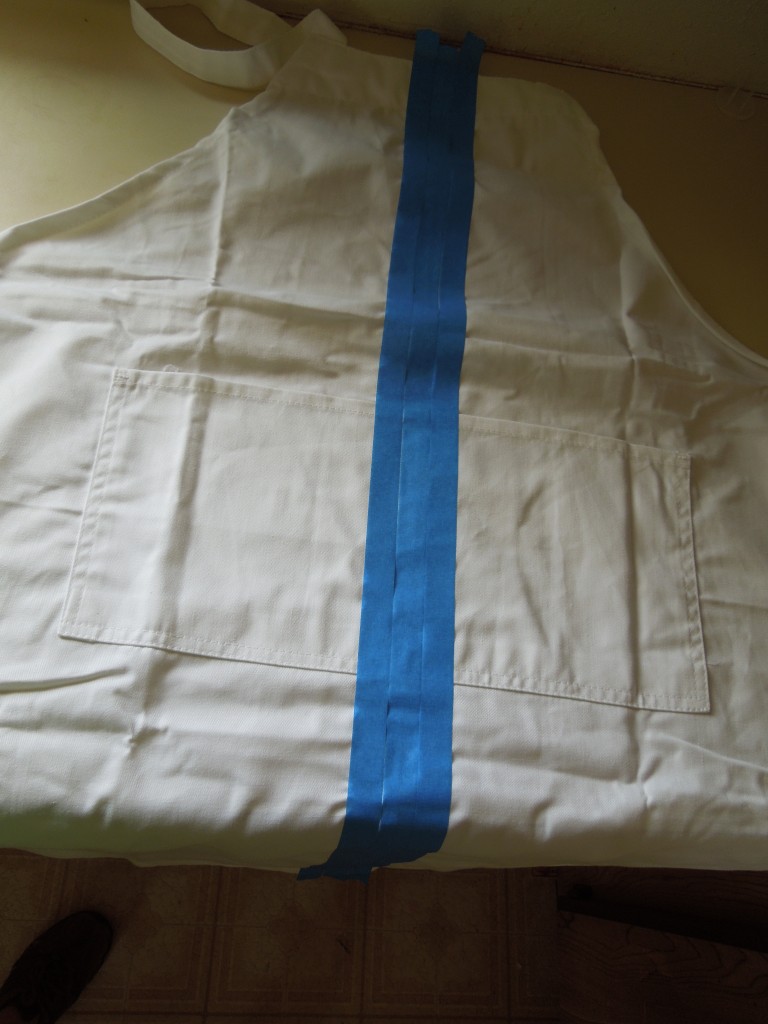
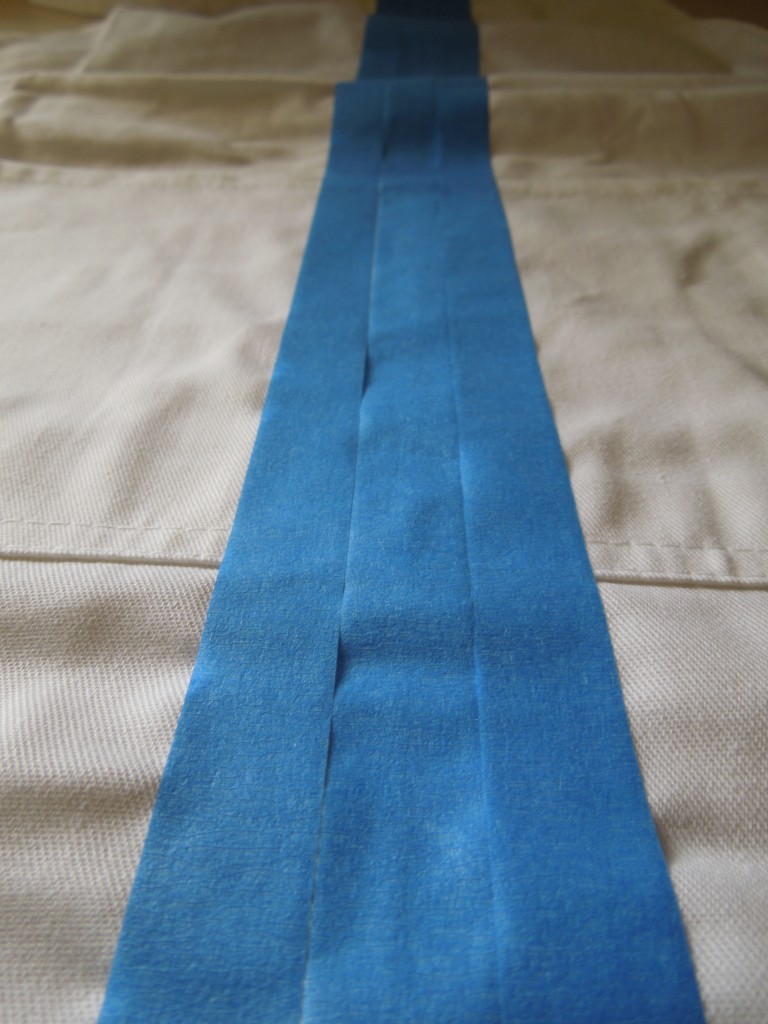
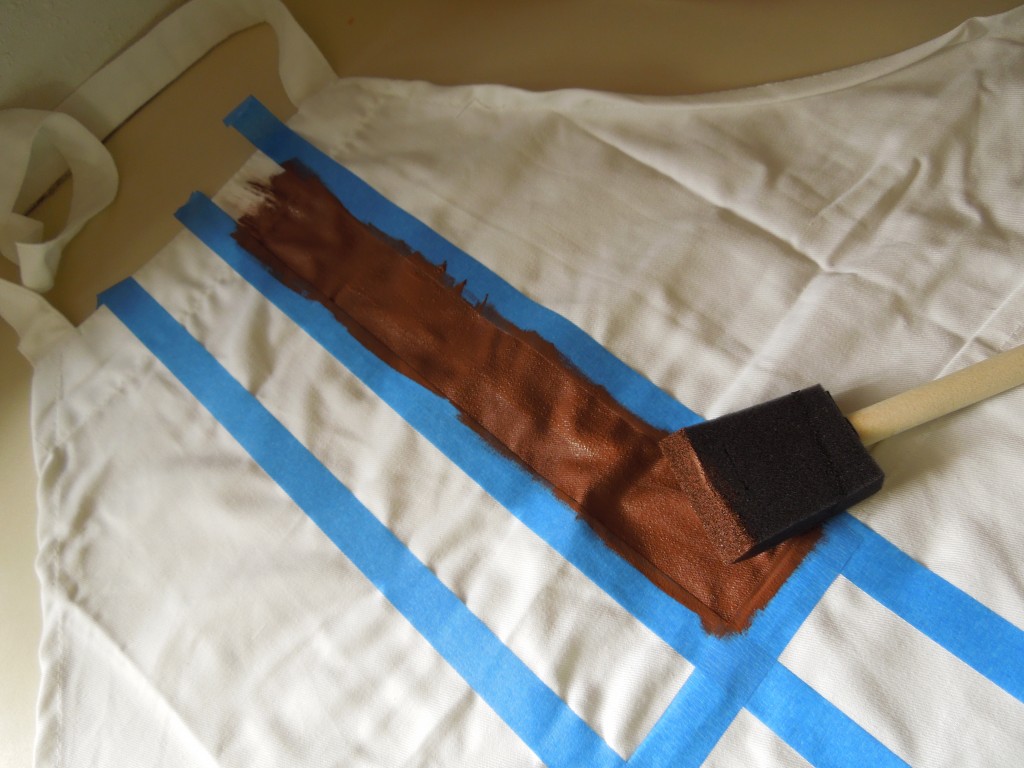
Unfold the apron, lie it on a flat surface, apply a long strip of painter’s tape down the very center of the apron -from bib to bottom. Apply one long strip to the left of the center strip and one long strip to the right of the center strip:

Take your time with this step, making sure the tape doesn’t overlap and there isn’t too much of a gap between strips.

Try to get the tape to lay as flat as possible.
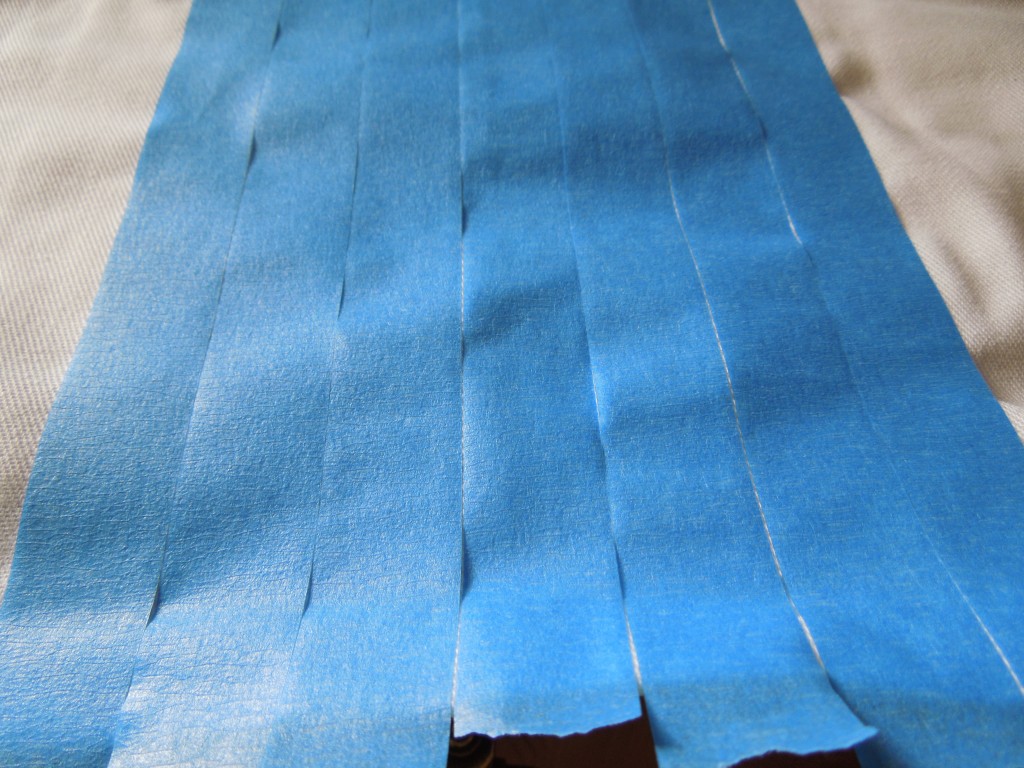
Repeat, repeat!

…until you have 7 strips total.
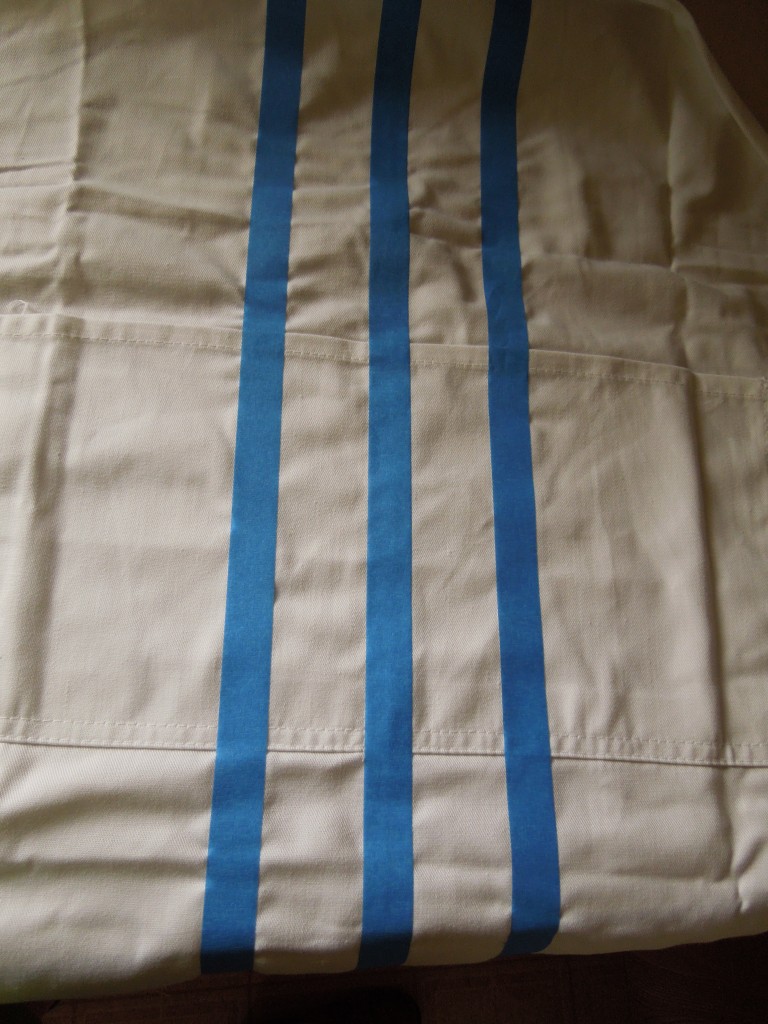
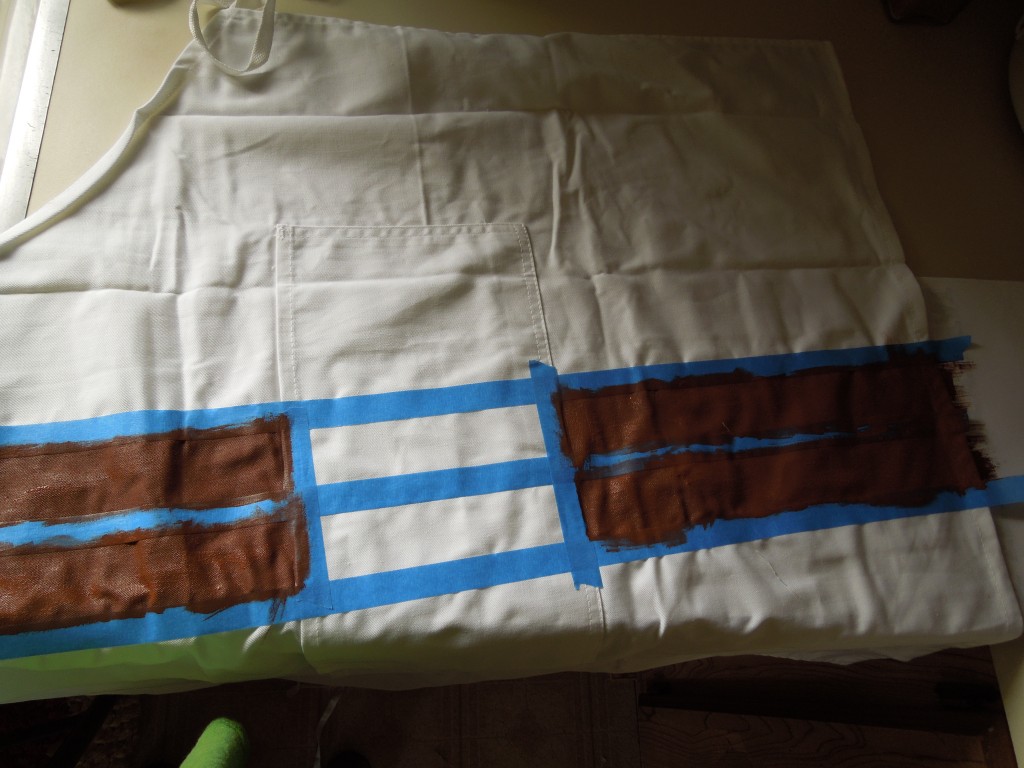
Then peel away two strips on either side of the center strip:

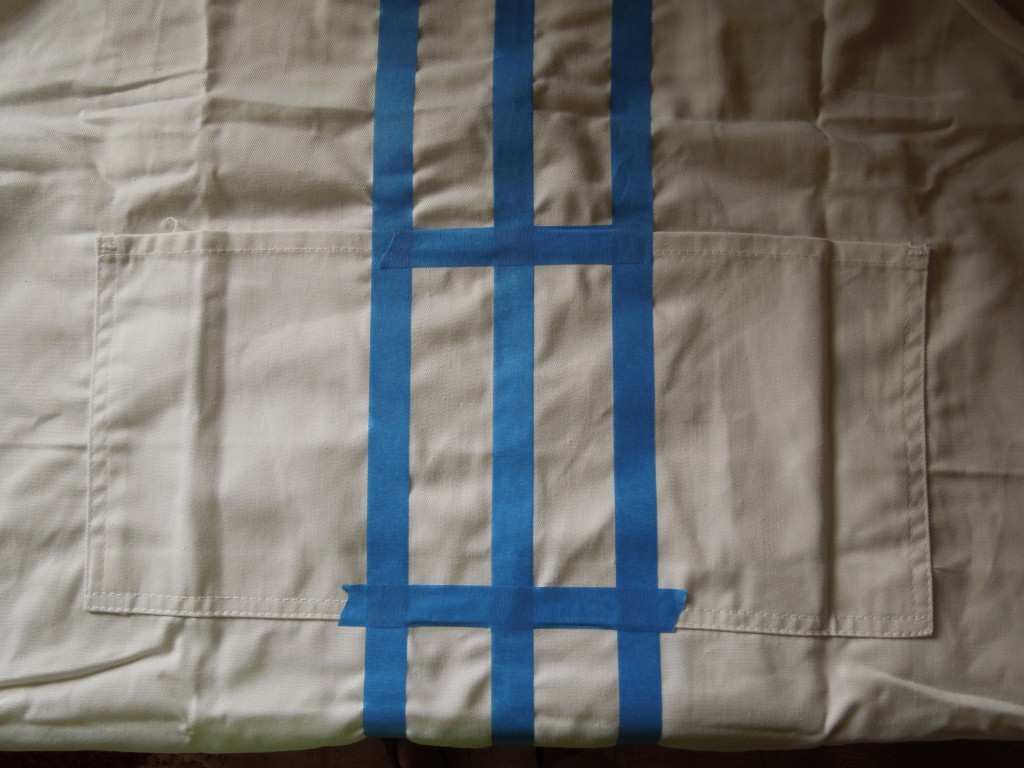
Tape off the pocket! Very important!

Pull out your craft paint and foam brush and paint the spaces between the tape being extra vigilant about NOT painting the pocket… I almost did!


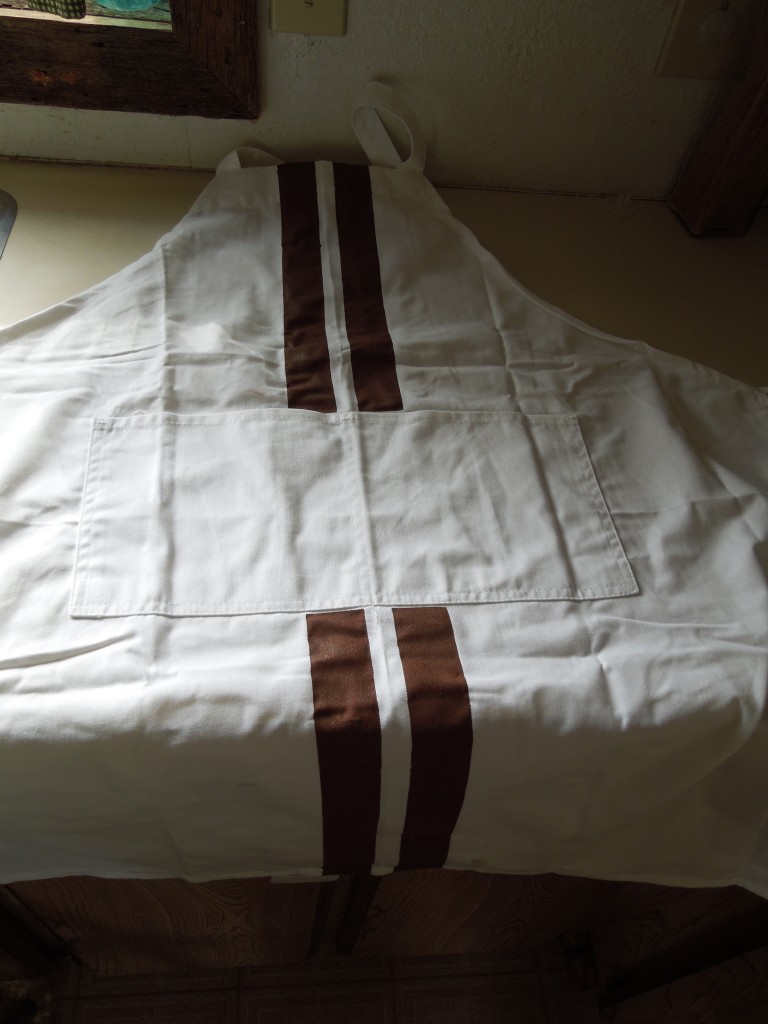
Let dry for a few hours (overnight is best, but I’m not that patient). Pull all painter’s tape off:

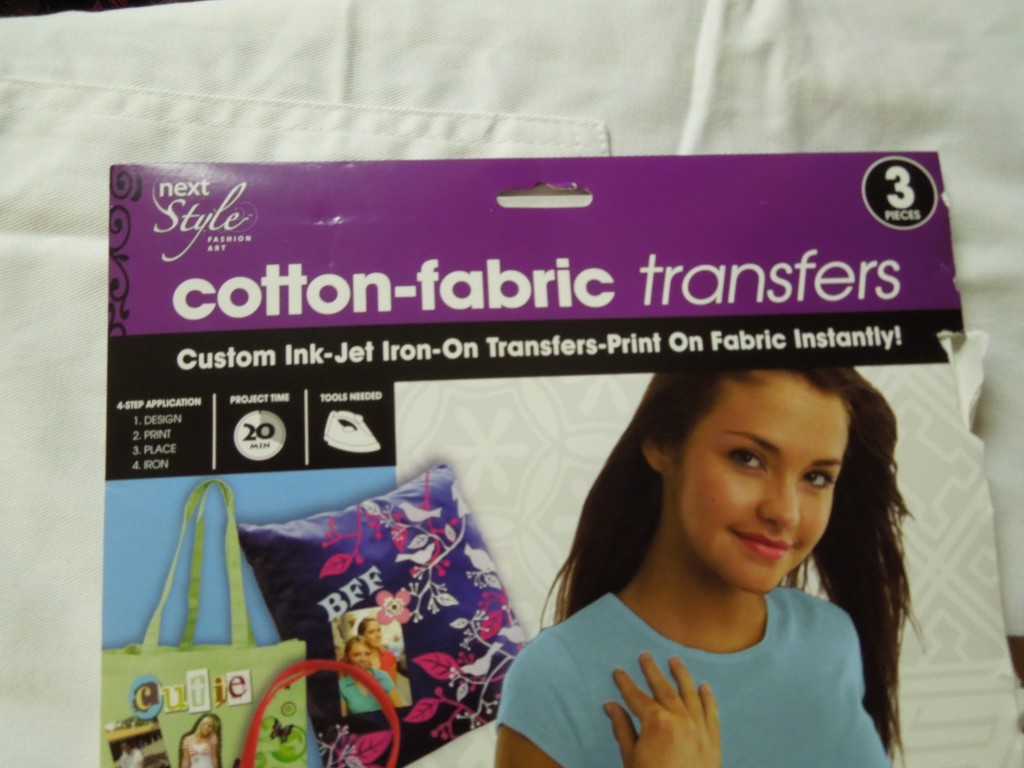
Now, I DID let it sit overnight before putting my iron-on transfer on it. When I bought my iron-on transfer, I bought the paper at Wal-Mart (no craft stores around these parts!) and I ended up not getting what I want! I got this:

I didn’t realize I was buying a fabric iron-on. I thought it was more of an ink-transfer paper. That’s what I get for shopping on my own with two independent kids who want to buy everything in Wal-Mart. Ha! So, while it worked it isn’t exactly what I want. What I want is simply an INK transfer, no extra fabric involved.
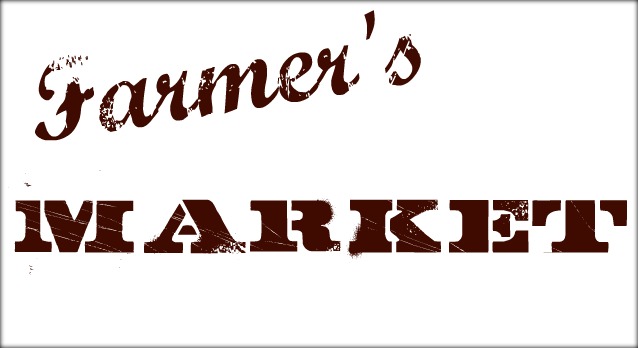
I went to picnik.com to create my image. You can use PicMonkey.com, though it doesn’t have nearly as many fonts. Hopefully it will have more soon! I simply uploaded a picture, whited it out using their “doodle” option and put my writing over it.
Another (probably easier) option is to go to dafont and download some free fonts and just type out your image in Word.
If you don’t want any kind of wording, feel free to download images from online. There’s some great vintage ones out there!
This is the image I used for my apron:

Using the instructions on the transfer paper package, I printed my image, trimmed the border off, and ironed it onto the apron pockets.
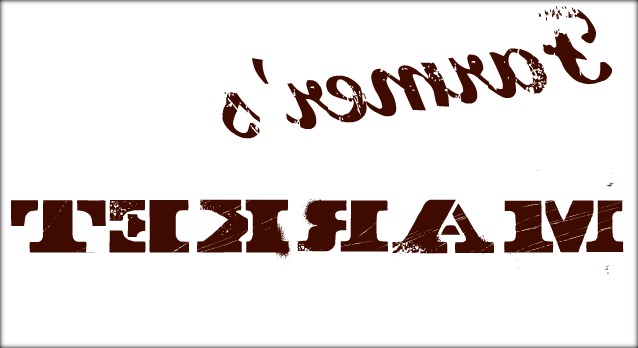
Now, if you’re using an ink transfer sheet like I wished I could have, you’re going to need to FLIP the image before you print it:

I would still trim the border off.

Iron it on and let it dry!

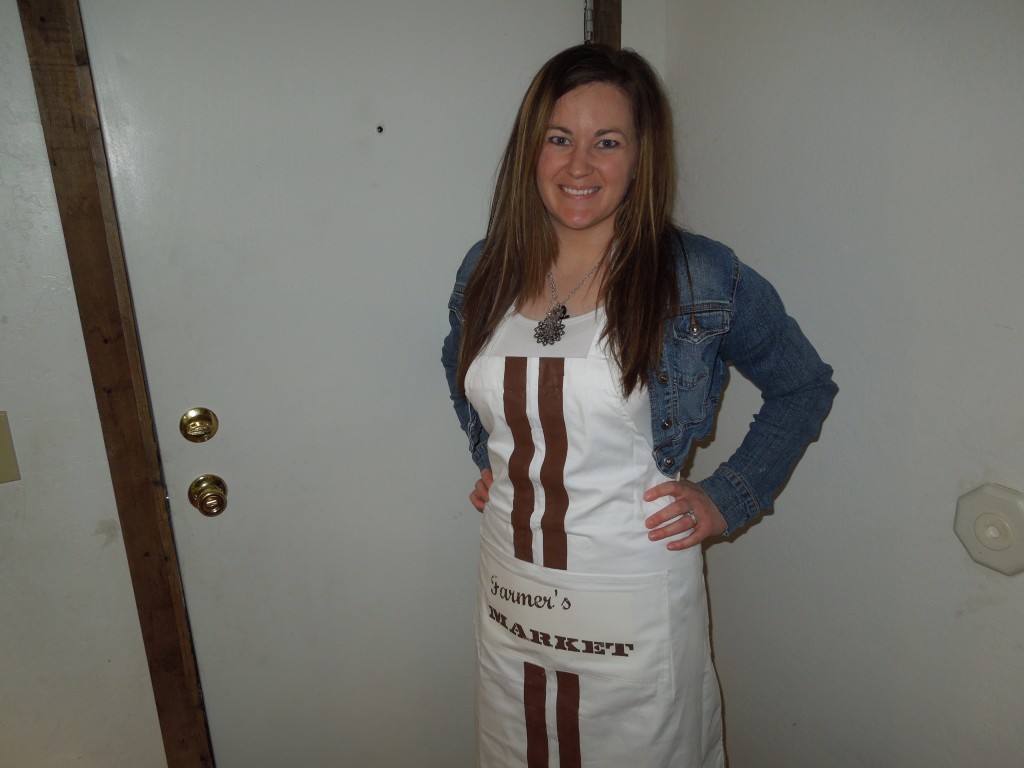
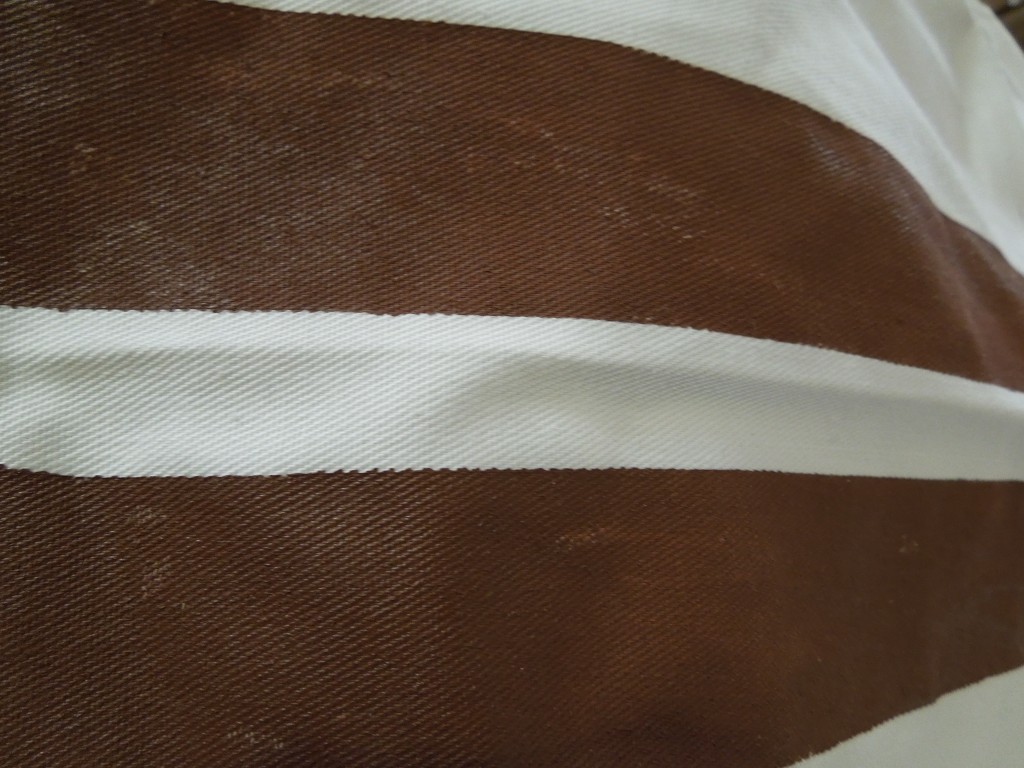
The paint on my apron is not even at all… there’s still some white showing through. I didn’t do it intentionally. I went over and over and over my paint to make sure it wouldn’t soak in, but it did. And I LOVE the look:

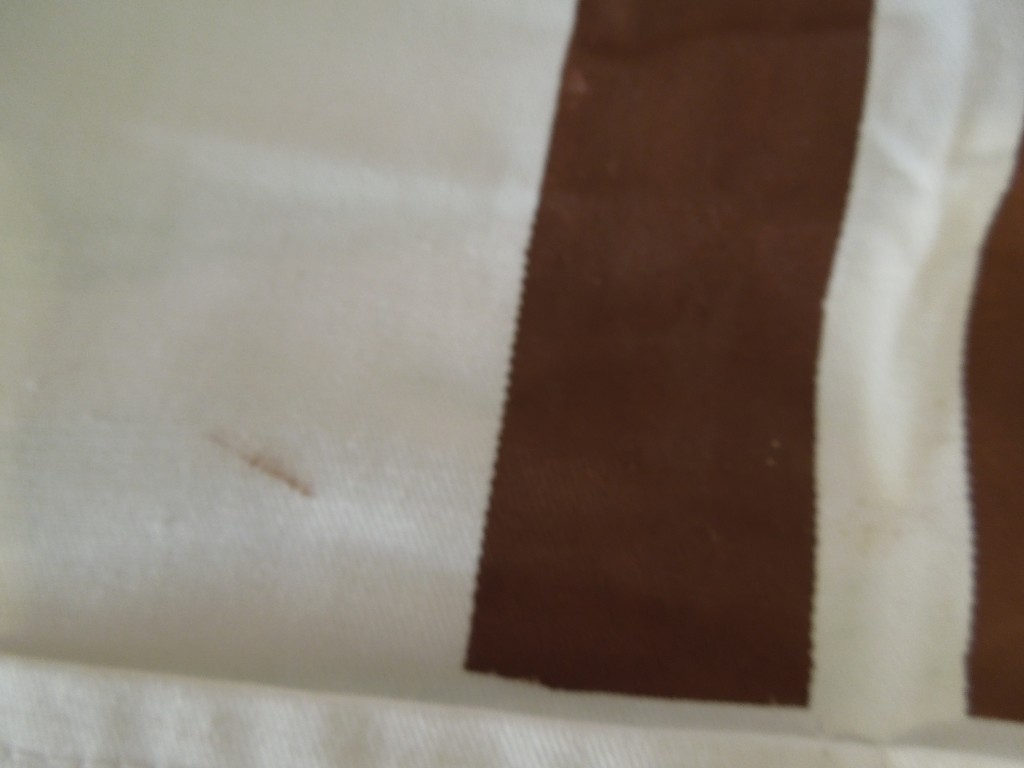
It gives it a sort of worn look and it matched the Farmer’s Market image perfectly. I did make plenty of mistakes:

So I’ll be extra careful next time. In the meantime, how much fun could you have with THIS?! I want to use the painter’s tape closer to the edges of the apron and paint one more smaller strip on each side.
I’ll also be picking up some white flour sack towels and ironing images on them to match.
If you like the look but don’t want to bother painting and ironing, just come to the boutique on Saturday on Main Street at 9 AM. I’ll have a few aprons like this to sell!!
Until I can get my hands on some ink transfer paper, I’m going to be oiling my machine and HOPING it will stitch for me! Pray, people. Pray!

Posted in Aprons, No-Sew Fabric Crafts | Leave a comment

Have a Lie In

My husband has repeatedly told me that he LOVES it when I get creative on his account.  I used to be really good at it when we were newly weds.  But he never really reciprocated, and I just sort of… quit.  Nowadays, my creative juices go mainly toward digging through my cupboards and pulling a dinner out of my behind (if you’ll excuse the language).  But seriously.  Can you relate?  For years, he’s been hinting at me to bring back the fun creative part of me and let the functional creative part of me take a sabbatical. I often would kindly tell him that it was hard to create something and give it and then get nothing back. He’d apologize, and we’d go on with life.
As time has gone on, I’ve grown up a little and realized that reciprocation IS NOT what it’s about. So I’ve been gradually bringing the fun creativity back to our marriage. Granted, I mostly just peruse Pinterest and copy ideas… but I DO try to make them my own.
Take tonight for instance…

My husband works a demanding job. Sometimes he leaves the house thinking he’ll be home by dinner and doesn’t end up coming home until the wee hours. I’m dying for a date, but this week it just isn’t feasible to actually LEAVE our house.
Enter this idea.

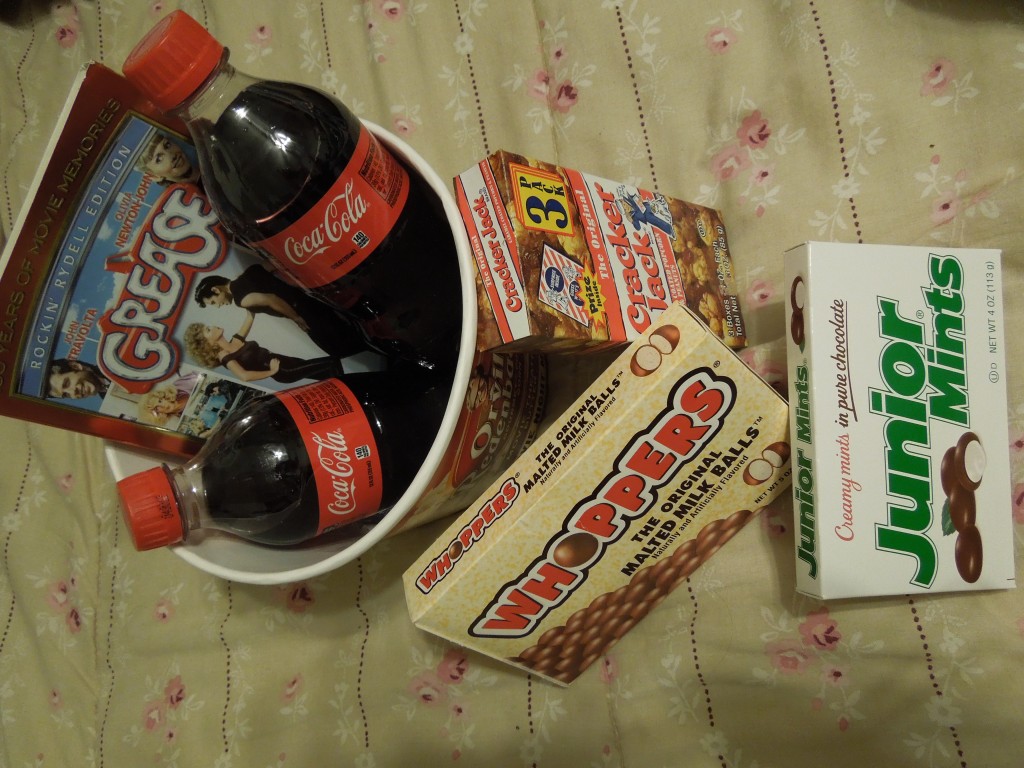
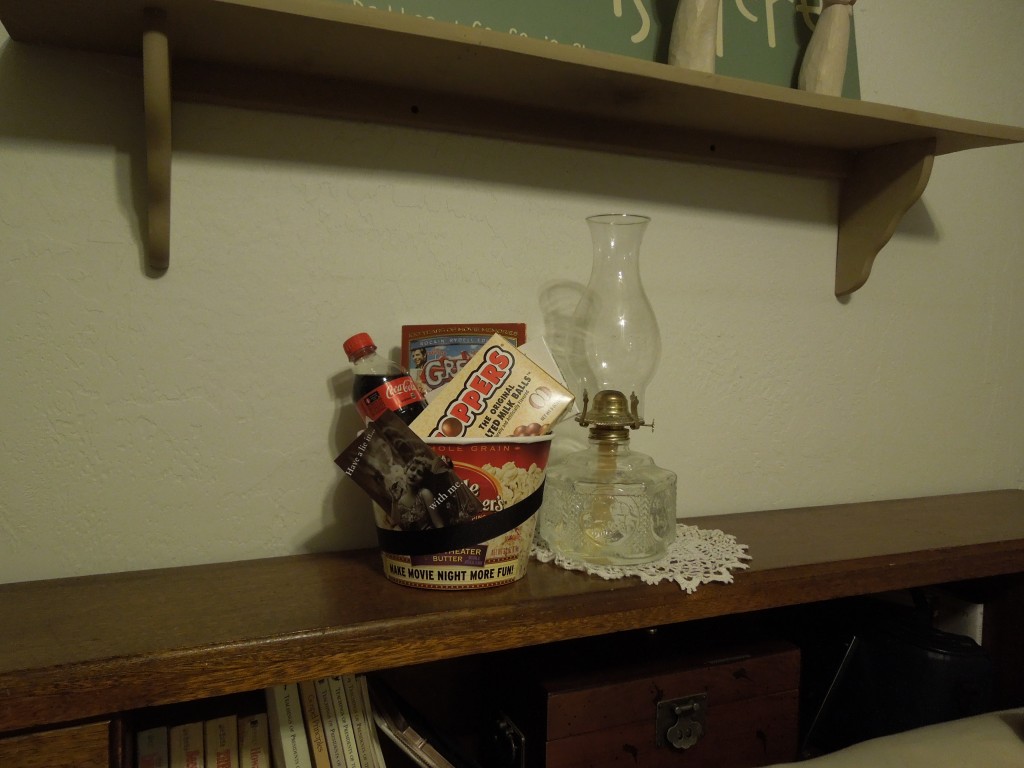
At the store tonight, I stopped off in electronics and picked up “Grease” for $7.50. As I went through my shopping list, I kept my eyes peeled for fun stuff to add to the movie.
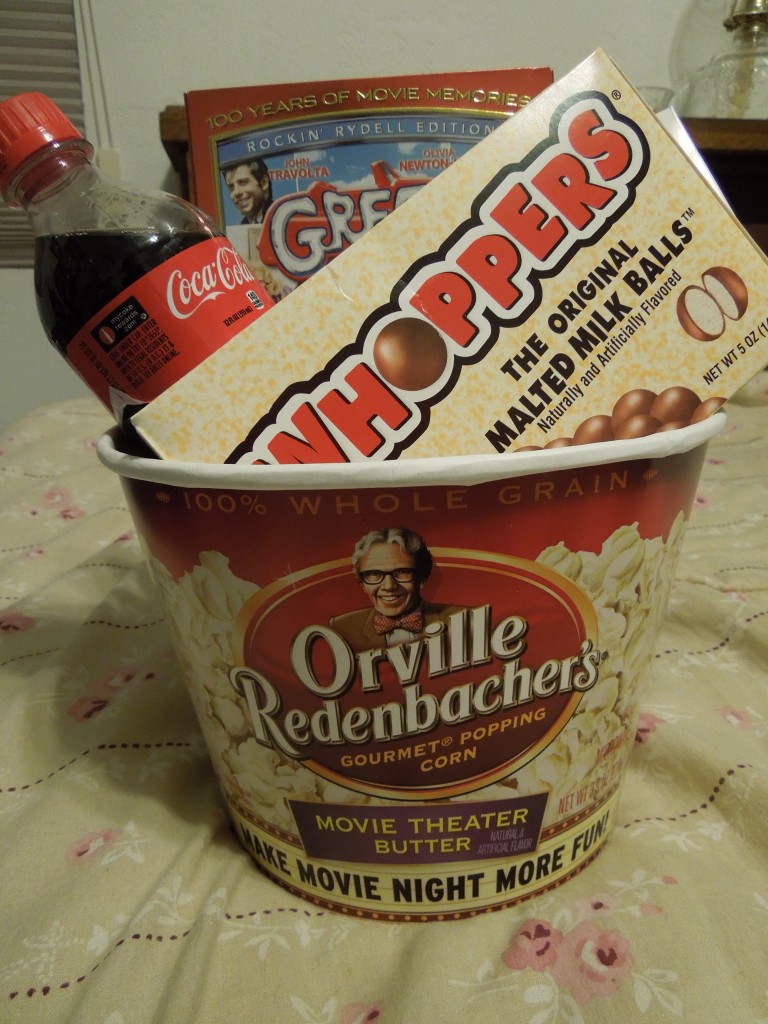
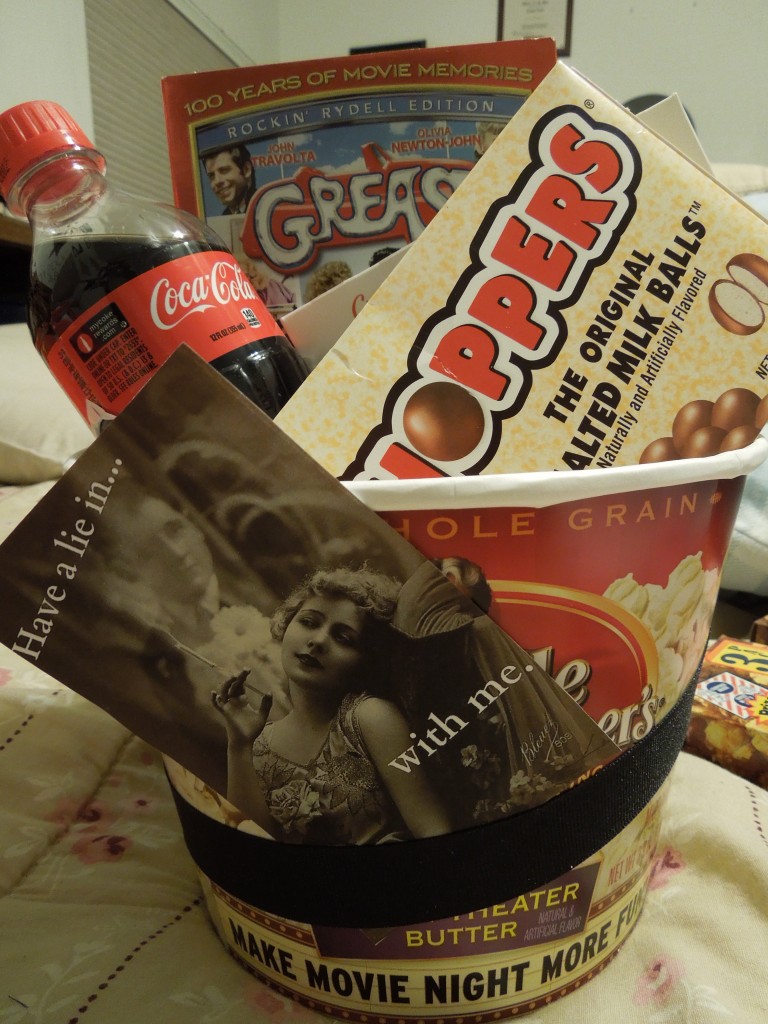
I ended up with an movie-style bowl with un-popped microwave popcorn in the bottom, and I knew it would make the perfect “basket.”
Ever since I was pregnant with my girl and the smell of popcorn made me absolutely SICK, I haven’t exactly enjoyed popcorn, but I do love it with Junior Mints on top. And really: the mint to popcorn ratio is 3:1. But when you’re married to a microwave popcorn junkie, you deal.
I nabbed a box of whoppers because they’re “malted” and Grease is sort of centered around malt shop goodness. We’re not big on caffeine or soda, but Coca-Cola and poodle skirts go together like rama lama lama ka dinga da dinga dong.
I threw in the cracker jacks for good measure.
In the end, they were given a pink slip what with the microwave popcorn eagerly waiting in the bottom of the bowl to be popped… the jacks just seemed redundant.

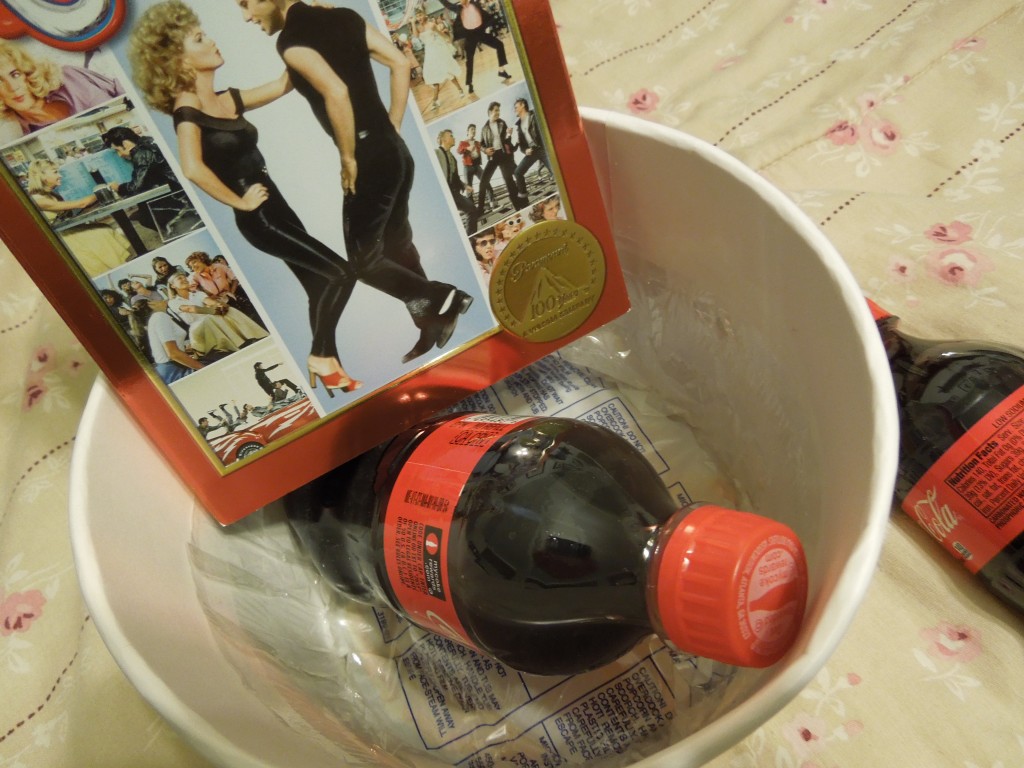
To make everything fit, I laid on Cola on it’s side and stacked things on/around it. It gave it a nice layered look.


I could have stopped here and he would’ve gotten the point… BUT I couldn’t resist. I played around with some clip art I’ve saved here and there. I got this:

I liked it okay. But I wasn’t in love. So I kept on…

Also okay.
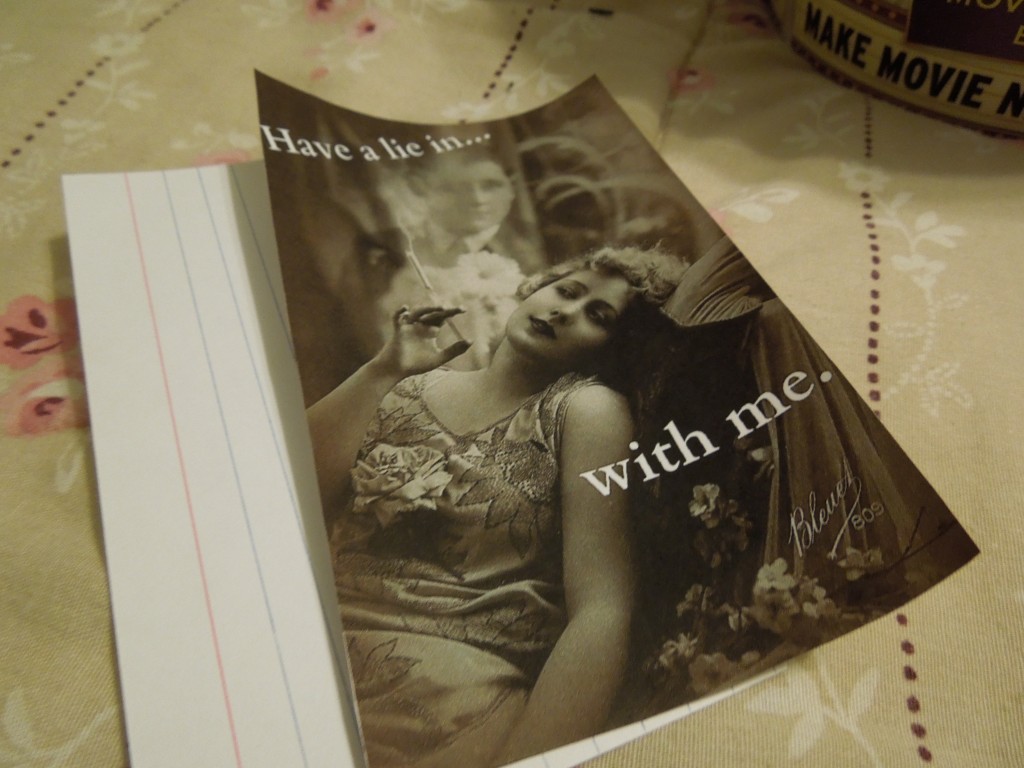
I KNOW I should have gone with something that went a little more with the 50′s theme of the movie and food, but after I stumbled on a vintage picture of a woman smoking and dreaming of a man, I could not resist. I was absolutely powerless.
More often than not, I like to believe that I’m not only British but a little early 1920′s as well. Don’t get me wrong, I love disposable feminine products just as much as the next gal, but a huge chunk of my heart belongs to 1920′s-ish. Another big chunk of my heart belongs to PicMonkey.com. With our powers combined, we bring you:
I printed a 3×5 of her out and then I mounted her (pardon):

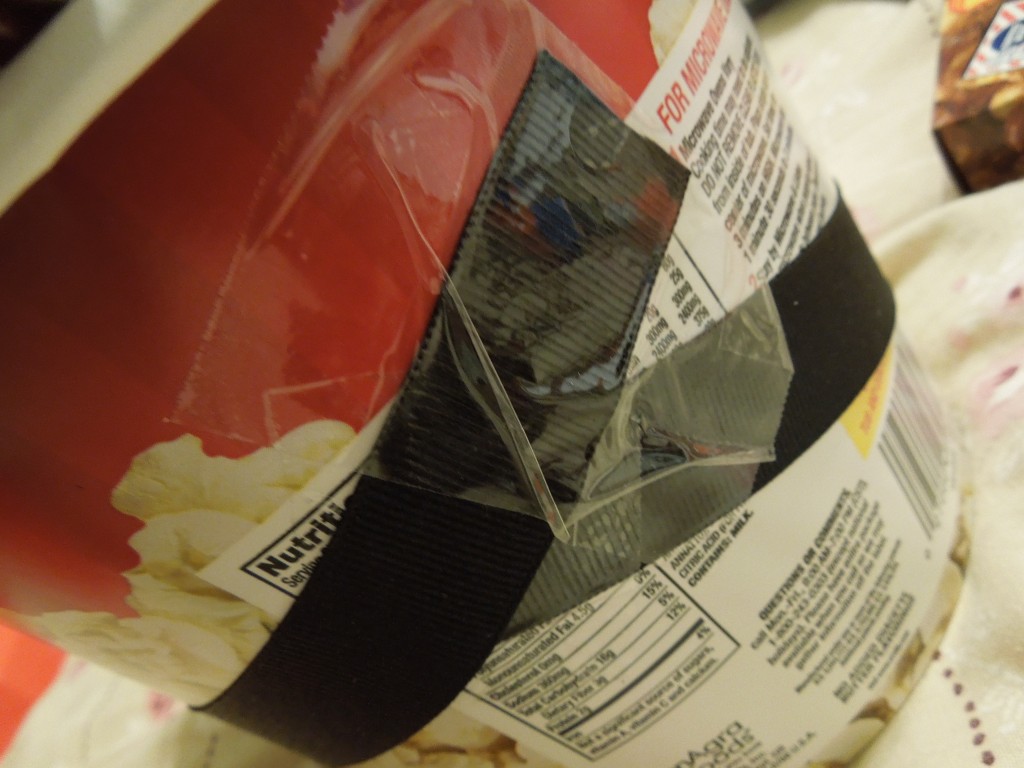
I took black ribbon and wrapped it tightly around the bucket, securing it ever-so-unneatly-yet-discreetly with packing tape:
From the front of the bucket, you couldn’t see the tape at all. I wriggled the sultry woman under the ribbon and…
Ta-da!
It’s all wrapped up and waiting on our headboard.

And in case you’re wondering: he actually does like “Grease.” One common ground we both have is music. He sang in top choirs in high school, and I sang in our ONLY choir (which bless our small town stars did NOT have try outs). You won’t catch him dead (or alive for that matter) watching “The Sound of Music” but “Grease”? Well, that’s a horse of a different color.

I would love to take this idea and really run with it… substitute the smoking girl for something a little more retro and take the bucket with us on a drive out to the middle of nowhere and watch the movie on our lap top at a makeshift drive-in out of our car. Wouldn’t that be fun? Poodle skirt optional, of course.

Posted in Love and Dating | Tagged , , , , , | Leave a comment

Frenchie Apron

Good things are brewing, friends!

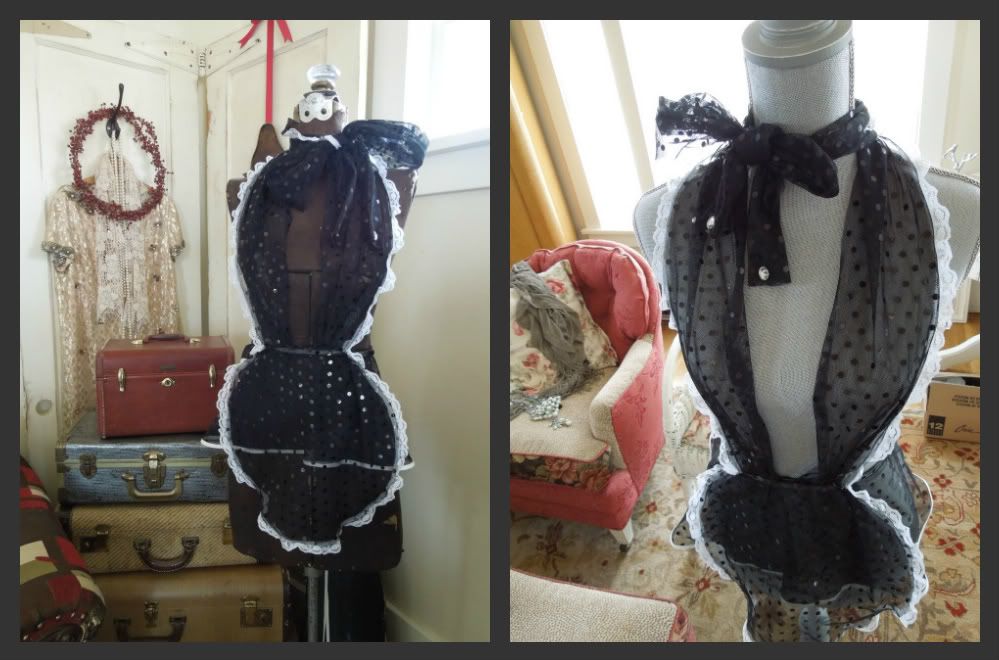
I’m teaming up with Tickled in Love to bring you a line of vintage-inspired, Story Lady styled aprons. You’ve all seen my sheer aprons in the past. I’ve been making quite a few more these days, and they’ll be up for sale soon!
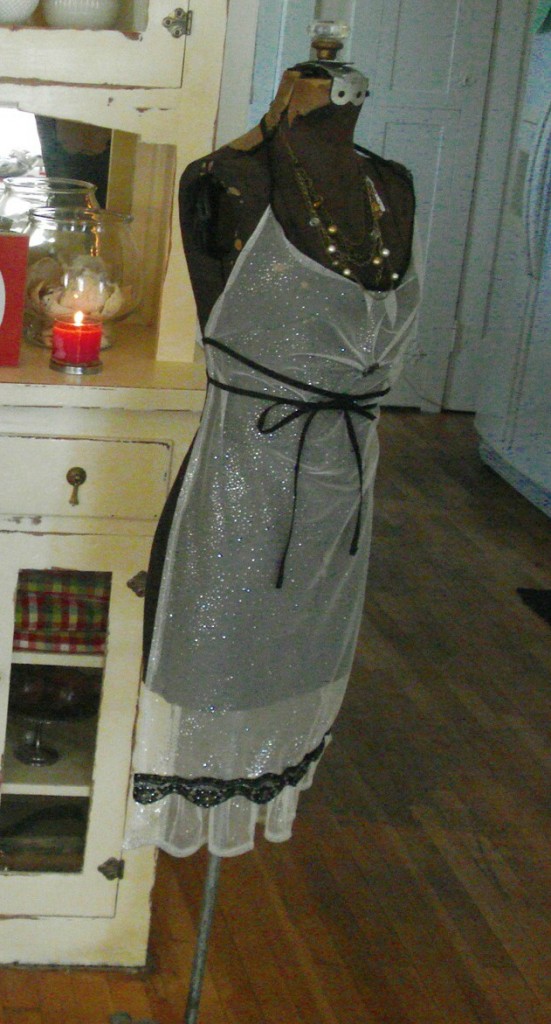
Here’s the lady you’re used to: Baby Doll

And here’s Frenchie in her debut:
Photobucket

Ain’t she sweet?

In the near future, I’ll be adding a bloomer and cami set to the line.  Stay tuned!

Posted in Aprons | Leave a comment

Fancy Tulle Dress

This year for Halloween, the girl decided she wanted to be a rainbow ballerina.  Her costume was REALLY easy!  I’ve had a few people ask me how I did it, so I’m going to share.  I don’t have picture-by-picture instructions because I didn’t know if it was going to turn out when I started it, but it did!

Doesn’t it always work like that?  If I had taken pictures step-by-step, it probably wouldn’t have turned out.  I started out by taking 1″ elastic and wrapping it around my daughter under her arms .  I cut it to length and stitched the ends together to make a big circle (I also left a little tail JUST IN CASE my measurements turned out to be off which has been known to happen).

Earlier that week, I had taken my daughter to the fabric store and let her choose 8 different colors of tulle, and then I bought one yard of each.  We also picked out a spool of ribbon.

Once home, I cut the tulle into long strips and tied them around the elastic.  It looked like a REALLY big tu-tu.  Once I had tied all of the strips (it took a few sit-down sessions), I put it on my daughter.

Instead of wearing around her waist, like a regular tu-tu, I put it around her chest (under her arms).  I used the ribbon she had picked out and tied a sash under her chest.

Once I had the sash where I wanted it and where it felt comfortable on her, I carefully put my hot glue gun under the ribbon and lightly glued the ribbon down in a few places, but not all the way around.  I wanted it to stay put but not so firmly that it didn’t have wiggle room.

I then pinned 4 pieces of ribbon (cut equal lengths) to the elastic to serve as tie-straps-sleeves.  I pinned the two front ribbons pretty close together because I like the way they looked. Once I had them pinned where I wanted them, I carefully took the tutu off of my daughter and hot glued the ribbons in place (don’t forget to take out the pins!)  
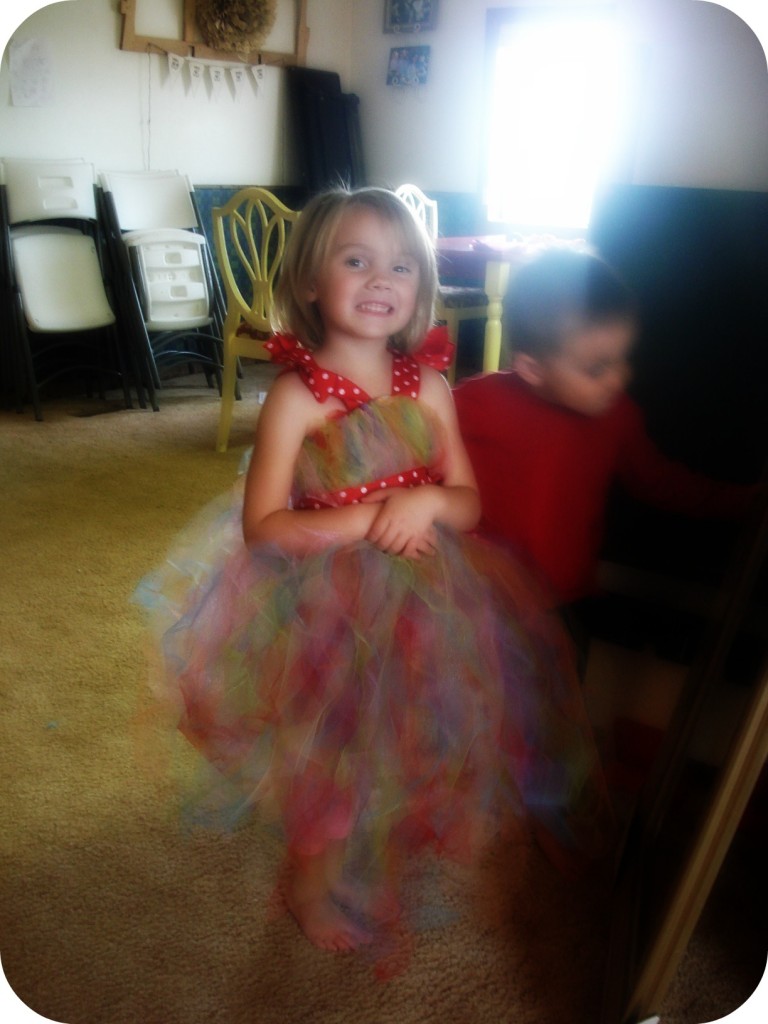
The back two I glued farther apart:
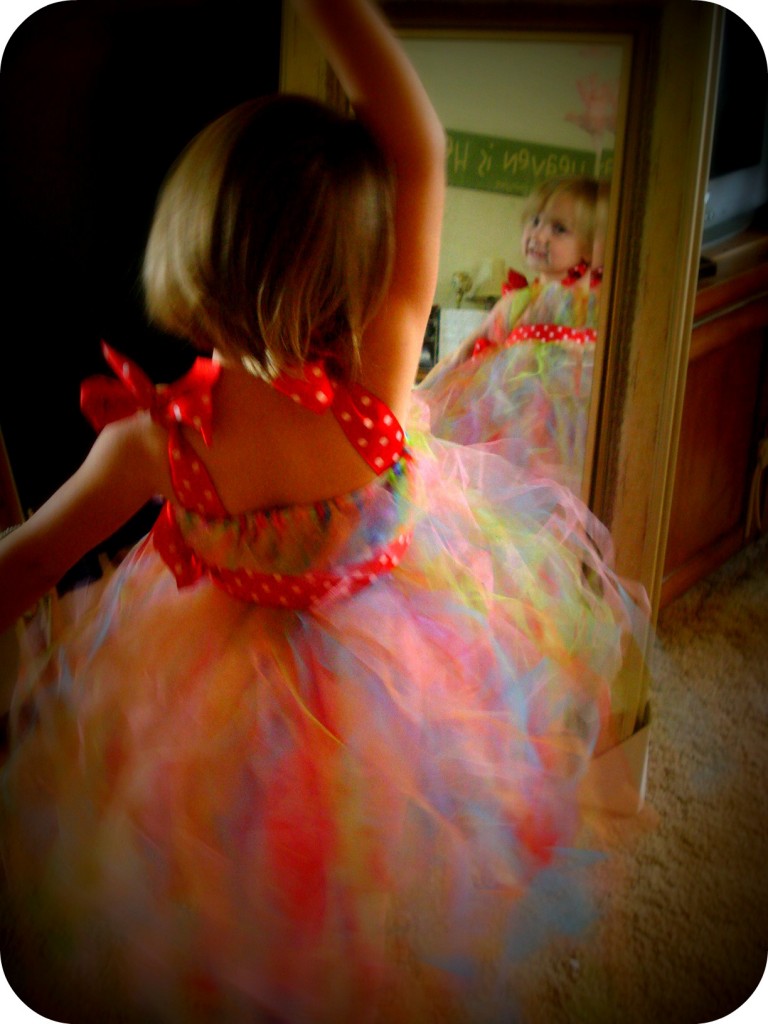
She loves the dress:
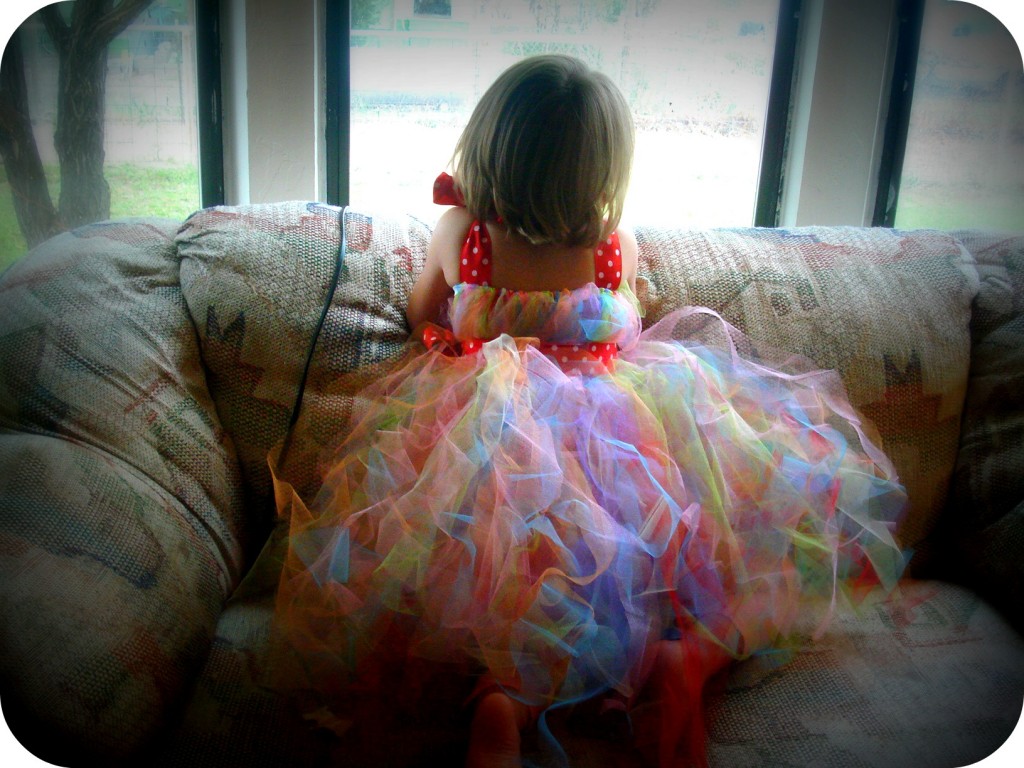
When we went out trick-or-treating, she wore a t-shirt and tights underneath the dress.
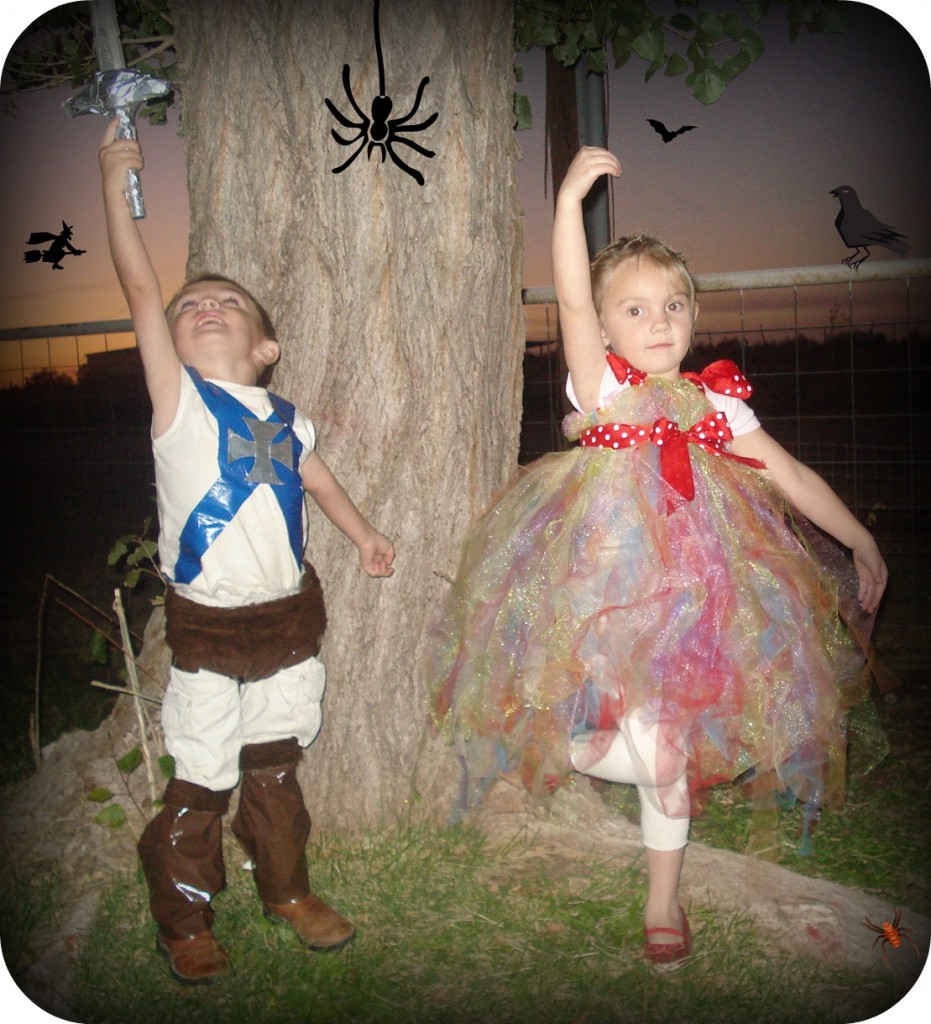
Easy, easy! The tulle cost about $1 a yard and the elastic is about the same. I think the ribbon was $2. If your kiddo is smaller than mine (she wears a size 4T or 5), you could use even less tulle.
Except for the small hand stitching on the elastic -this costume was no-sew!
Posted in Costumes, No-Sew Fabric Crafts | Leave a comment

Cake Plates

I’ve been making tons of cake plates lately. They make my kitchen look fresher AND they make for great gifts. The best part? They’re cheap. The other best part? They’re fun to make.

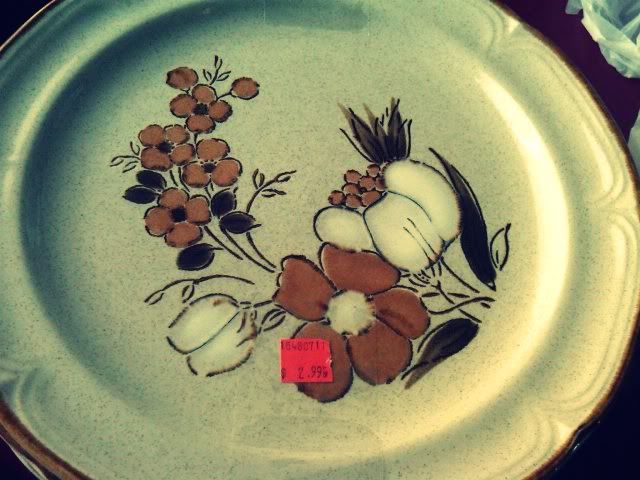
I scored these uglies at Goodwill. Four plates for $3.
Photobucket

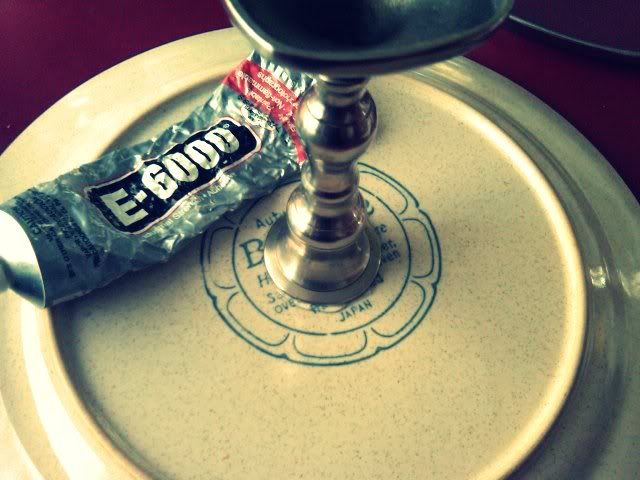
Using E6000 (which I just noticed today includes a warning on the label about how it may cause cancer. Say wha…?!), I glued some thrifted candlesticks to the uglies.
Photobucket
There’s an art to using E6000 (aside from using a face mask) you need to apply it both to the surface you’re gluing and the surface you’re gluing it to.
Let it sit on the surfaces, then press them together. Continue to apply pressure for a few minutes (it will feel longer than it will be) and then let it sit for quite a while. If you treat it right, it will work beautifully!

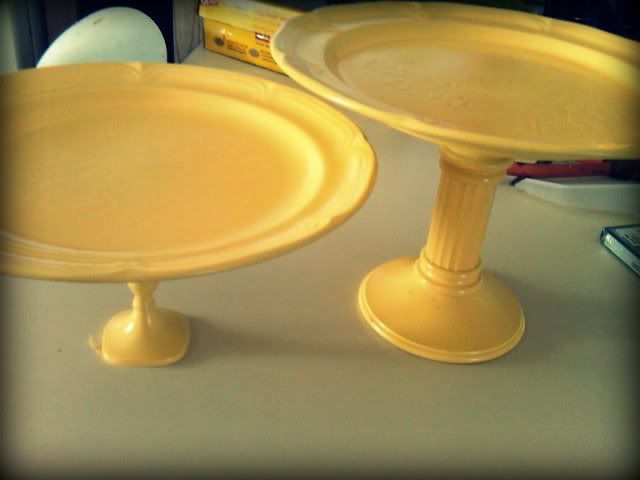
Once everything was held together, I coated them with primer and then a purdy yellow. For my previous cake plates, I’ve only ever painted the candlesticks, but today I went the distance and painted the whole she-bang.
Photobucket
Not so ugly now!

Posted in Home Decor | 1 Comment

Bathroom Decor

I don’t really know what happened today. One minute I was walking around like a regular girl, and the next I was elbow deep in wood glue, nails, and chicken wire.
I didn’t PLAN on tearing into my bathroom today, but I did.

Because I didn’t PLAN on tearing into my bathroom there are no before pictures.
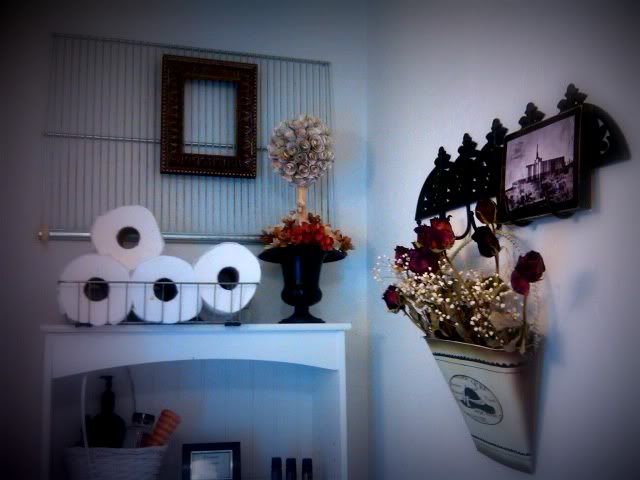
Photobucket
But I will say this: It looks completely different. The dried roses are from a bouquet my husband gave me for Valentine’s Day this year (aw!). Here’s a secret: the rack on the wall is actually one from my fridge that doesn’t fit. And I bought the frame a few years ago from Savers.
I made the topiary from book page rosettes.

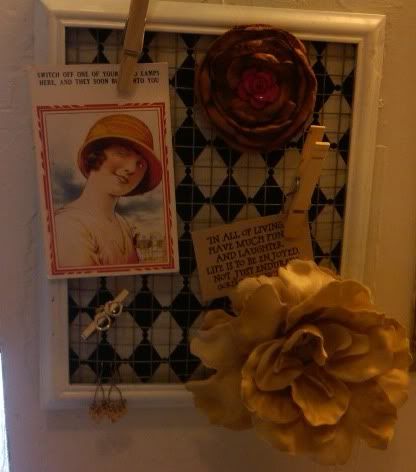
In the middle of moving stuff around in my bathroom, I remembered that I had spray painted a picture frame white and left it outside. I went and got it.
I mod modged fabric to the back of it.
Then I put chicken wire where the glass should be. Thanks be to the stranger who happened to buy hay from my Dad behind my house and lent me his metal snippers.
Photobucket
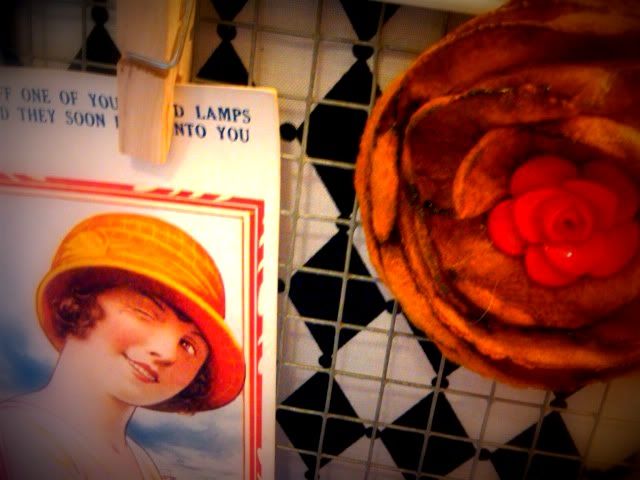
I’m rearry happy with how it turned out ESPECIALLY because now I finally have a place for my vintage post card I’ve had sitting on my dresser for a year.
Photobucket
It needed something above it, so I went outside and started hunting for scrap… anything, really.

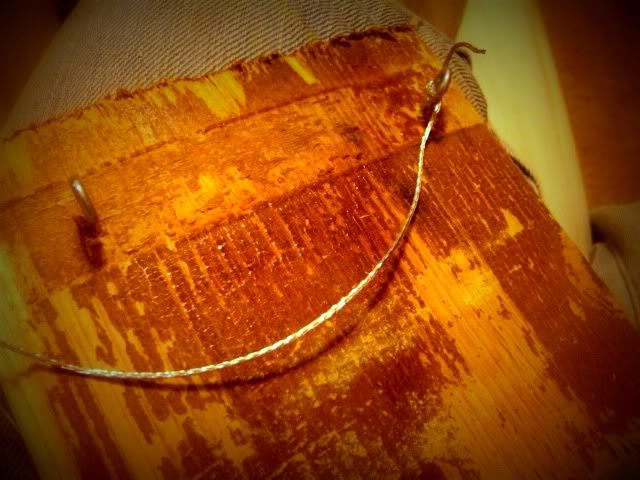
I found a beat up piece of wood that was too big.
Then I found a saw, so I cut it. I screwed some picture hanging supplies into it and added wire:
Photobucket
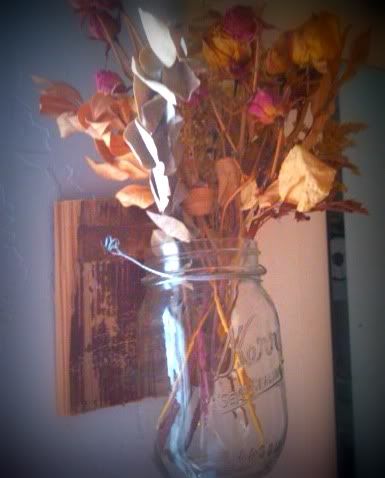
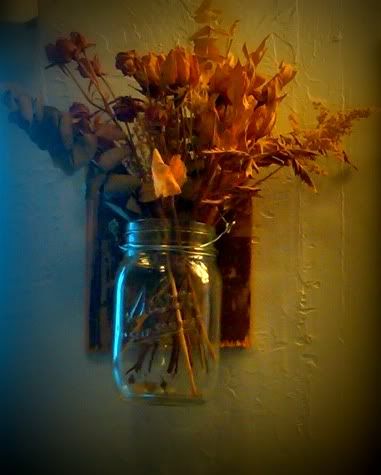
I put a jar in the wire and a picture hanger on the back to hang it on the wall:
Photobucket
The dried bouquet that I put in it is the one my husband gave me after I gave birth to our first baby. I can’t seem to part with it.
Photobucket

I’ve got about a thousand ideas rushing in and not enough energy left to go to it! But it’s turning out great. My husband will be surprised when he comes home.
I imagine after texts all day like “where can I get a pipe clamp?” and “do we have a saw?” and “where’s the wire cutters?” he’s a little concerned.

Posted in Home Decor, No-Sew Fabric Crafts | Leave a comment

Zipper Flowers

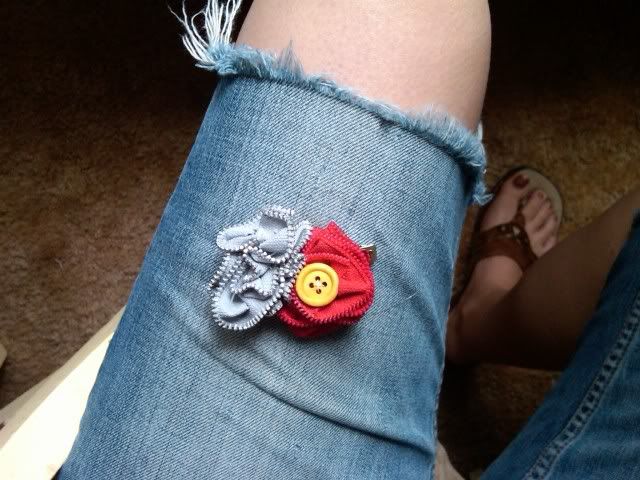
A few months ago, I went to a traveling fashion boutique and they had the cutest zipper flower.  My 13 year old cousin was with me, and I pointed out the zipper flower and said, “That would look so awesome on you.”  She didn’t have any money and I didn’t have enough… but I never forgot about it!  Her birthday is today, so I made something like it for her.
Photobucket
It was my first try, so it was very rough but in the end I was happy with how it turned out.
I bought a bin at a yard sale that had a bunch of old zippers in it, so I’ve got LOTS to practice with!
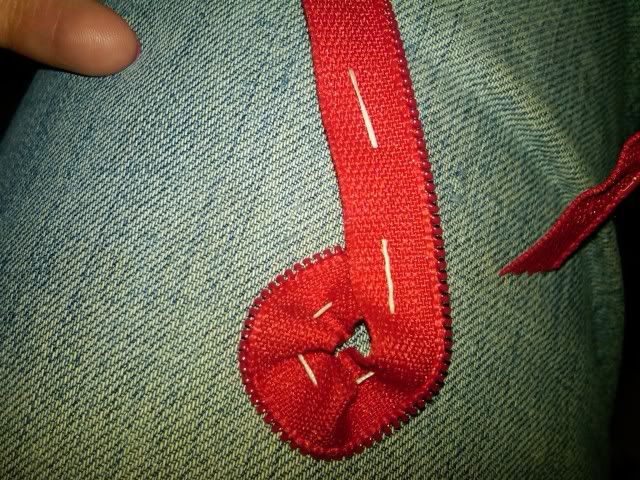
I started with a running stitch down the center of the zipper and just pulled it as I went:
Photobucket
I wish I would have been able to see THIS video before I did this! I found it this morning:

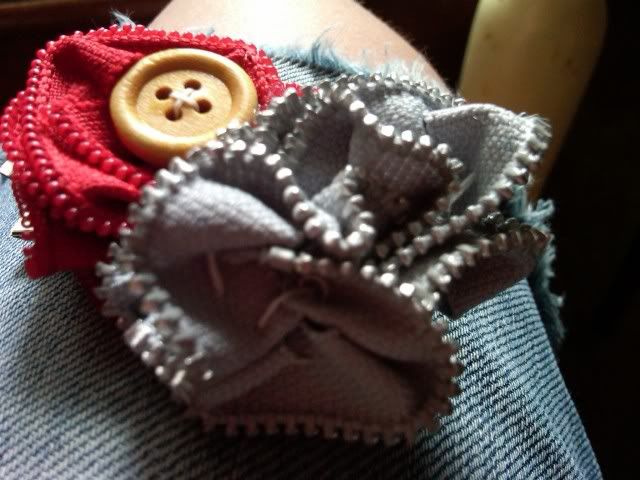
What I came up with worked, and she was happy with it:
Photobucket
Now I’m going to have to make a bunch more!

Posted in Fashion, No-Sew Fabric Crafts | Leave a comment